
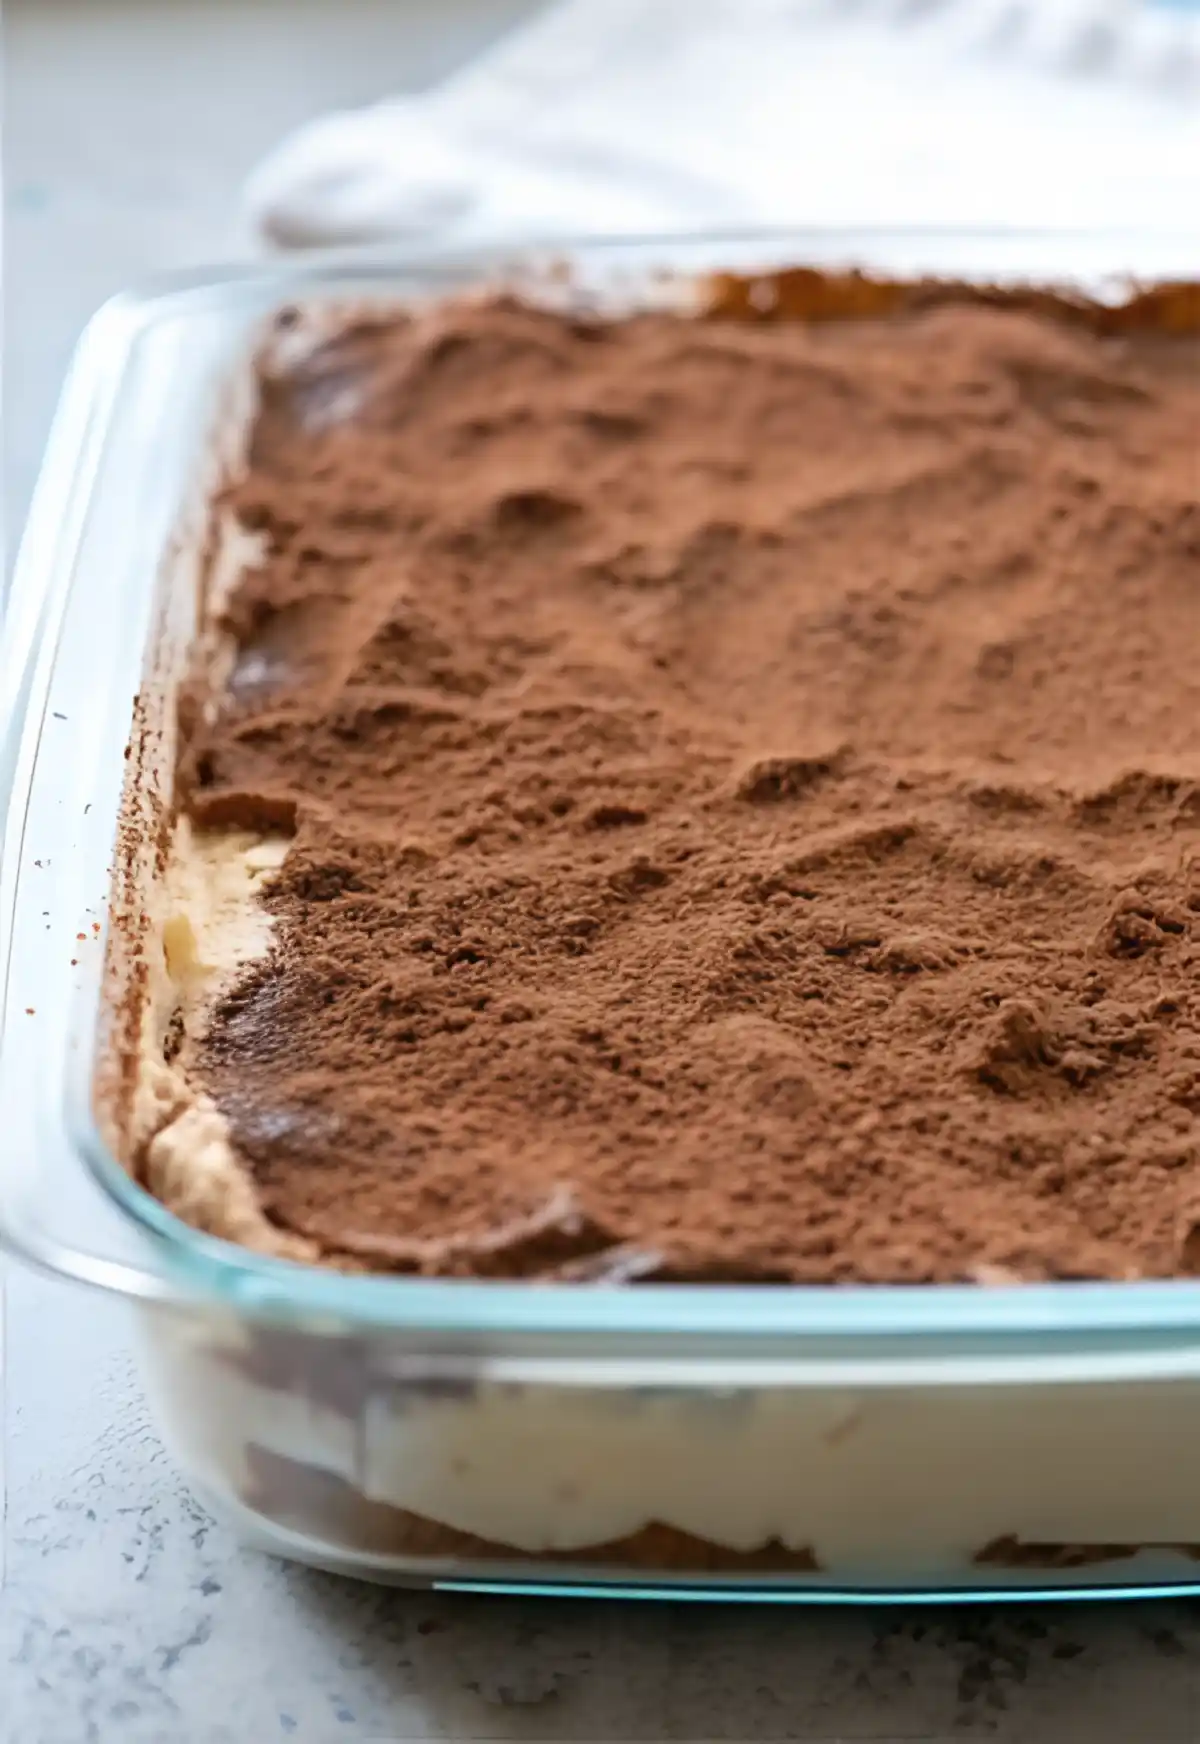
This tiramisu recipe delivers the same rich, creamy flavor as the classic Italian dessert but skips the worry of raw eggs. Instead of whipped egg whites, it uses whipped cream to create a smooth, stable texture that’s both luxurious and foolproof. Best of all, it’s a no-bake treat that actually tastes better the next day, making it the perfect make-ahead dessert for any gathering.
Table of Contents
Why You’ll Love This Recipe

- Quick to prepare with no baking required
- Uses simple ingredients you can find in any grocery store
- Perfect for holidays, birthdays, or last-minute dinner guests
- Light yet rich flavor that feels both indulgent and comforting
- Easy to make ahead so you’re not rushing before serving
What makes this version stand out is its foolproof technique. The whipped cream gives the dessert a velvety texture without the risks tied to raw eggs. Whether you’re serving family or impressing friends, this tiramisu delivers consistent, crowd-pleasing results every time.
Ingredients Needed
For the Cream Layer
• 1 and 1/2 cups heavy whipping cream (360 ml), well chilled for best results
• 8 ounces mascarpone cheese (225 g), softened to room temperature for smooth blending
• 1/3 cup granulated sugar (67 g), adds just the right amount of sweetness
• 1 teaspoon vanilla extract (5 ml), for depth of flavor
For the Coffee Soak
• 1 and 1/2 cups freshly brewed espresso or strong coffee, cooled completely (360 ml)
• 3 tablespoons coffee liqueur, optional for added richness (Kahlua or DaVinci recommended) (45 ml)
For Assembly
• 1 package Savoiardi ladyfingers, usually found in the cookie aisle or online
• Unsweetened cocoa powder, for dusting the top before serving
How to Make Tiramisu
Step 1: Whip the cream
Pour the cold heavy cream into a mixing bowl. Using a hand mixer or stand mixer, beat on medium speed until it starts to thicken. Slowly add the sugar and vanilla. Continue beating until stiff peaks form. The cream should hold its shape when you lift the beaters.
Step 2: Blend in the mascarpone
Gently add the softened mascarpone cheese to the whipped cream. Use a spatula to fold it in until smooth and fully combined. Avoid overmixing to keep the texture light and airy. Set the bowl aside.
Step 3: Prepare the coffee soak
In a shallow bowl, combine the cooled espresso and coffee liqueur. Stir gently. This mixture will be used to dip the ladyfingers, so keep it nearby for easy access.
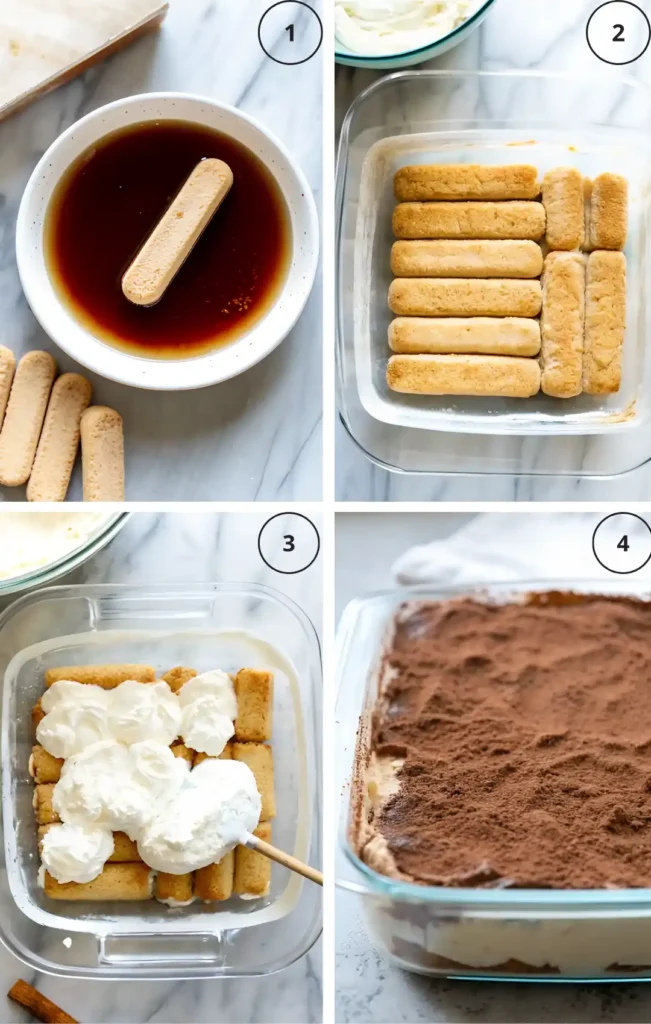
Step 4: Dip and layer the ladyfingers
Quickly dip each ladyfinger into the coffee mixture for about one to two seconds per side. Do not soak them. They should be moist but not soggy. Arrange a single layer of dipped ladyfingers in the bottom of an 8×8 inch dish.
Step 5: Add the cream layer
Spread half of the mascarpone mixture evenly over the layer of ladyfingers. Use a spatula to smooth it out gently.
Step 6: Repeat layering
Dip and layer the remaining ladyfingers over the mascarpone. Top with the rest of the cream mixture, spreading it smoothly to cover the surface.
Step 7: Dust and chill
Using a fine mesh strainer, dust a generous layer of unsweetened cocoa powder over the top. Cover the dish and refrigerate for at least 3 to 4 hours. For the best flavor and texture, let it sit overnight. This resting time helps the layers meld beautifully.
Expert Tips for Success
Avoid soggy ladyfingers
Dip each ladyfinger briefly, no more than one to two seconds per side. Oversoaking leads to a mushy texture that won’t hold its shape.
Use room temperature mascarpone
Cold mascarpone can cause lumps and a grainy texture. Let it sit out until it feels soft and blends smoothly with the whipped cream.
Swap or skip the alcohol
You can replace coffee liqueur with dark rum, Marsala wine, or brandy. If you prefer an alcohol-free version, simply use extra espresso or strong coffee.
Choose the right pan size
An 8×8 inch pan works perfectly for this recipe. You can also use a 9×13 dish for a thinner layer or divide it into small cups for individual servings.
Make-Ahead and Freezing Guide
Refrigeration tips
Tiramisu tastes even better the next day. After assembling, cover the dish tightly and refrigerate for at least 4 hours. It stays fresh in the fridge for up to 3 days. The flavors deepen over time, making it ideal for preparing in advance.
How to freeze
To freeze tiramisu, leave off the cocoa powder dusting until just before serving. Wrap the entire dish in plastic wrap, followed by a layer of foil. It can be stored in the freezer for up to 3 months.
Thawing instructions
When ready to serve, transfer the tiramisu from the freezer to the refrigerator. Let it thaw overnight. Before serving, dust with fresh cocoa powder for the best presentation and flavor.
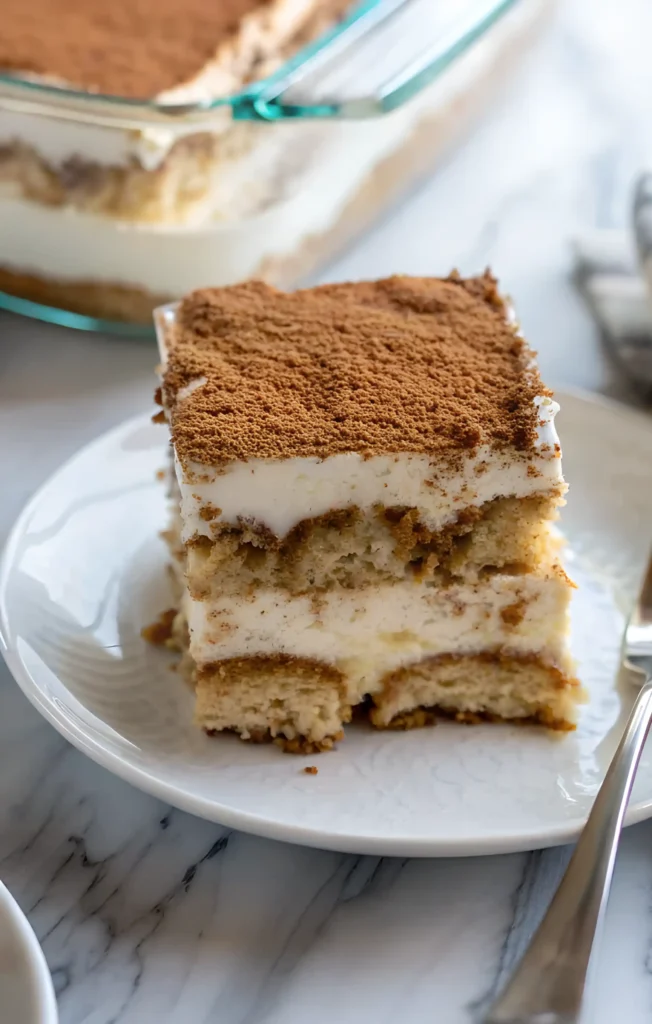
Conclusion
This no-bake tiramisu brings all the creamy richness and bold coffee flavor of the classic Italian dessert without the need for raw eggs or complicated steps. The whipped cream and mascarpone blend delivers a smooth, satisfying texture that’s both reliable and indulgent.
It’s a guaranteed crowd favorite that’s easy to prepare ahead of time, making it a smart choice for holidays, special occasions, or casual dinners at home.
If you tried this recipe, leave a comment and a star rating to let others know how it turned out. Share your creation on Pinterest or Facebook so more people can enjoy it too.
What twist did you try? Maybe a different liqueur or serving it in individual cups? Tell us in the comments below.
You Might Also Like:

Easy No-Bake Tiramisu
Ingredients
For the Cream Layer
- 1.5 cups heavy whipping cream well chilled for best results
- 8 ounces mascarpone cheese softened to room temperature
- 0.33 cups granulated sugar adds just the right amount of sweetness
- 1 teaspoon vanilla extract for depth of flavor
For the Coffee Soak
- 1.5 cups freshly brewed espresso or strong coffee cooled completely
- 3 tablespoons coffee liqueur optional, for added richness (can be substituted with more coffee)
For Assembly
- 1 package Savoiardi ladyfingers usually found in the cookie aisle or online
- unsweetened cocoa powder for dusting the top before serving
Instructions
- Step 1: Pour the cold heavy cream into a mixing bowl. Using a hand mixer or stand mixer, beat on medium speed until it starts to thicken. Slowly add the sugar and vanilla. Continue beating until stiff peaks form.
- Step 2: Gently add the softened mascarpone cheese to the whipped cream. Use a spatula to fold it in until smooth and fully combined. Avoid overmixing.
- Step 3: In a shallow bowl, combine the cooled espresso and coffee liqueur. Stir gently and keep nearby.
- Step 4: Quickly dip each ladyfinger into the coffee mixture for 1–2 seconds per side. Arrange a single layer in the bottom of an 8×8 inch dish.
- Step 5: Spread half of the mascarpone mixture evenly over the ladyfingers. Smooth gently with a spatula.
- Step 6: Repeat the dipping and layering process with remaining ladyfingers and cream. Spread the final cream layer on top.
- Step 7: Dust the top with unsweetened cocoa powder. Cover and refrigerate for at least 3–4 hours or overnight for best results.
Notes
Nutrition Facts (Per Serving)
- Calories: 297 kcal
- Carbohydrates: 26 g
- Protein: 5 g
- Fat: 18 g
- Saturated Fat: 11 g
- Polyunsaturated Fat: 1 g
- Monounsaturated Fat: 2 g
- Cholesterol: 88 mg
- Sodium: 77 mg
- Potassium: 124 mg
- Fiber: 1 g
- Sugar: 11 g
- Vitamin A: 618 IU
- Vitamin C: 1 mg
- Calcium: 90 mg
- Iron: 1 mg
FAQs
How long should tiramisu rest?
Tiramisu should rest in the refrigerator for at least 4 hours. For best results, let it chill overnight. This allows the flavors to blend and the layers to set properly.
Why is my tiramisu soggy?
Soggy tiramisu usually means the ladyfingers were soaked too long. A quick dip in the coffee mixture, just one to two seconds per side, is all that’s needed.
Does all tiramisu have raw eggs?
No, not all versions include raw eggs. This recipe skips them entirely and uses whipped cream instead, making it both safer and easier to prepare.
What does “tiramisu” actually mean?
Tiramisu comes from Italian and means “pick me up.” The name refers to the energizing effects of the coffee and cocoa used in the dessert.
How long will tiramisu keep in the fridge?
Tiramisu stays fresh for up to 3 days when kept in an airtight container in the refrigerator. The flavor continues to improve during this time.