
Most store-bought hummus can’t match the rich flavor and fluffy texture of a fresh, homemade version. It often tastes bland or heavy, missing that light, creamy feel you get when it’s made right at home. This method skips the tedious step of peeling chickpeas by focusing on a smart blending order that does the work for you. It’s simple, mess-free, and delivers that whipped, velvety finish. Naturally gluten-free, completely vegan, and packed with nourishing ingredients, this hummus is not just better—it’s unbeatable.
Table of Contents
Why You’ll Love This Recipe
- Quick and easy to make with just a few pantry staples
- Incredibly smooth and fluffy without peeling chickpeas
- Perfect for parties, meal prep, or snacking anytime
- Balanced flavors with a hint of garlic and lemon
- Feels comforting yet light, making it a crowd favorite
What makes this hummus stand out is the technique. Whipping the tahini and lemon juice first creates an airy base, while the baking soda trick transforms the chickpeas into a silky blend. It’s the kind of dish that gets wiped clean at gatherings and keeps you coming back for more.
Ingredients Needed
For the Base:
- 1 can of chickpeas (15 ounces), drained or 1½ cups cooked chickpeas, about 250 grams
- ¼ cup fresh lemon juice, around 60 milliliters, from one large lemon
- ¼ cup tahini, stirred well before using, about 60 milliliters
For the Flavor:
- 1 small garlic clove, finely minced
- 2 tablespoons extra-virgin olive oil, plus a little extra for topping, about 30 milliliters
- ½ teaspoon ground cumin
- Salt to taste
For Texture and Finishing:
- 2 to 3 tablespoons cold water or chickpea liquid (aquafaba), up to 45 milliliters
- A pinch of paprika, sumac, or Za’atar for garnish
Each ingredient plays a part in building a creamy texture and balanced flavor, so use fresh lemon juice and good-quality tahini for the best result.
How to Make Hummus
Step 1: Whip the tahini and lemon juice
Add the tahini and fresh lemon juice to the bowl of a food processor. Blend for one full minute, then stop to scrape down the sides and bottom. Blend again for 30 seconds. This step is key because it whips air into the tahini, setting the foundation for a light and creamy texture.
Step 2: Add olive oil, garlic, and spices
Pour in the olive oil. Add the minced garlic, cumin, and a pinch of salt. Blend for another 30 seconds. Scrape the sides again, then blend once more until the mix looks smooth and slightly pale. This builds flavor and creates a rich base.
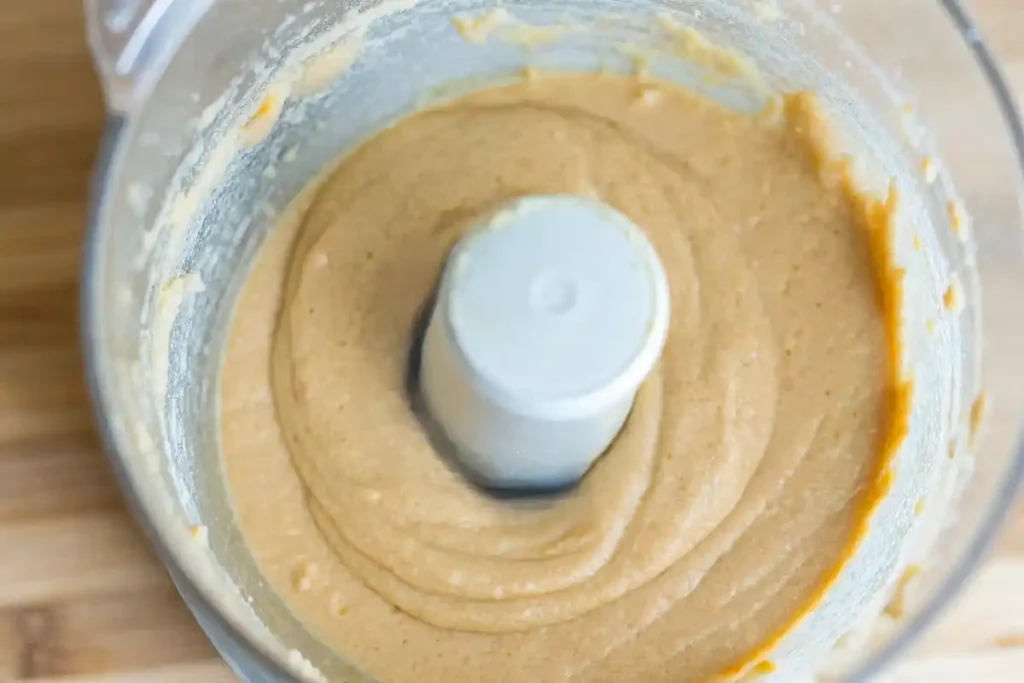
Step 3: Blend in the chickpeas
Drain your chickpeas and add half to the processor. Blend for one minute. Scrape everything down, then add the rest and blend until the hummus starts to thicken and smooth out. This takes one to two minutes. Don’t worry if it’s still a little stiff.
Step 4: Adjust the texture
With the food processor running, slowly add cold water or aquafaba. Start with two tablespoons and check the consistency. The hummus should turn smooth and fluffy. Add more liquid only if needed.
Step 5: Taste and finish
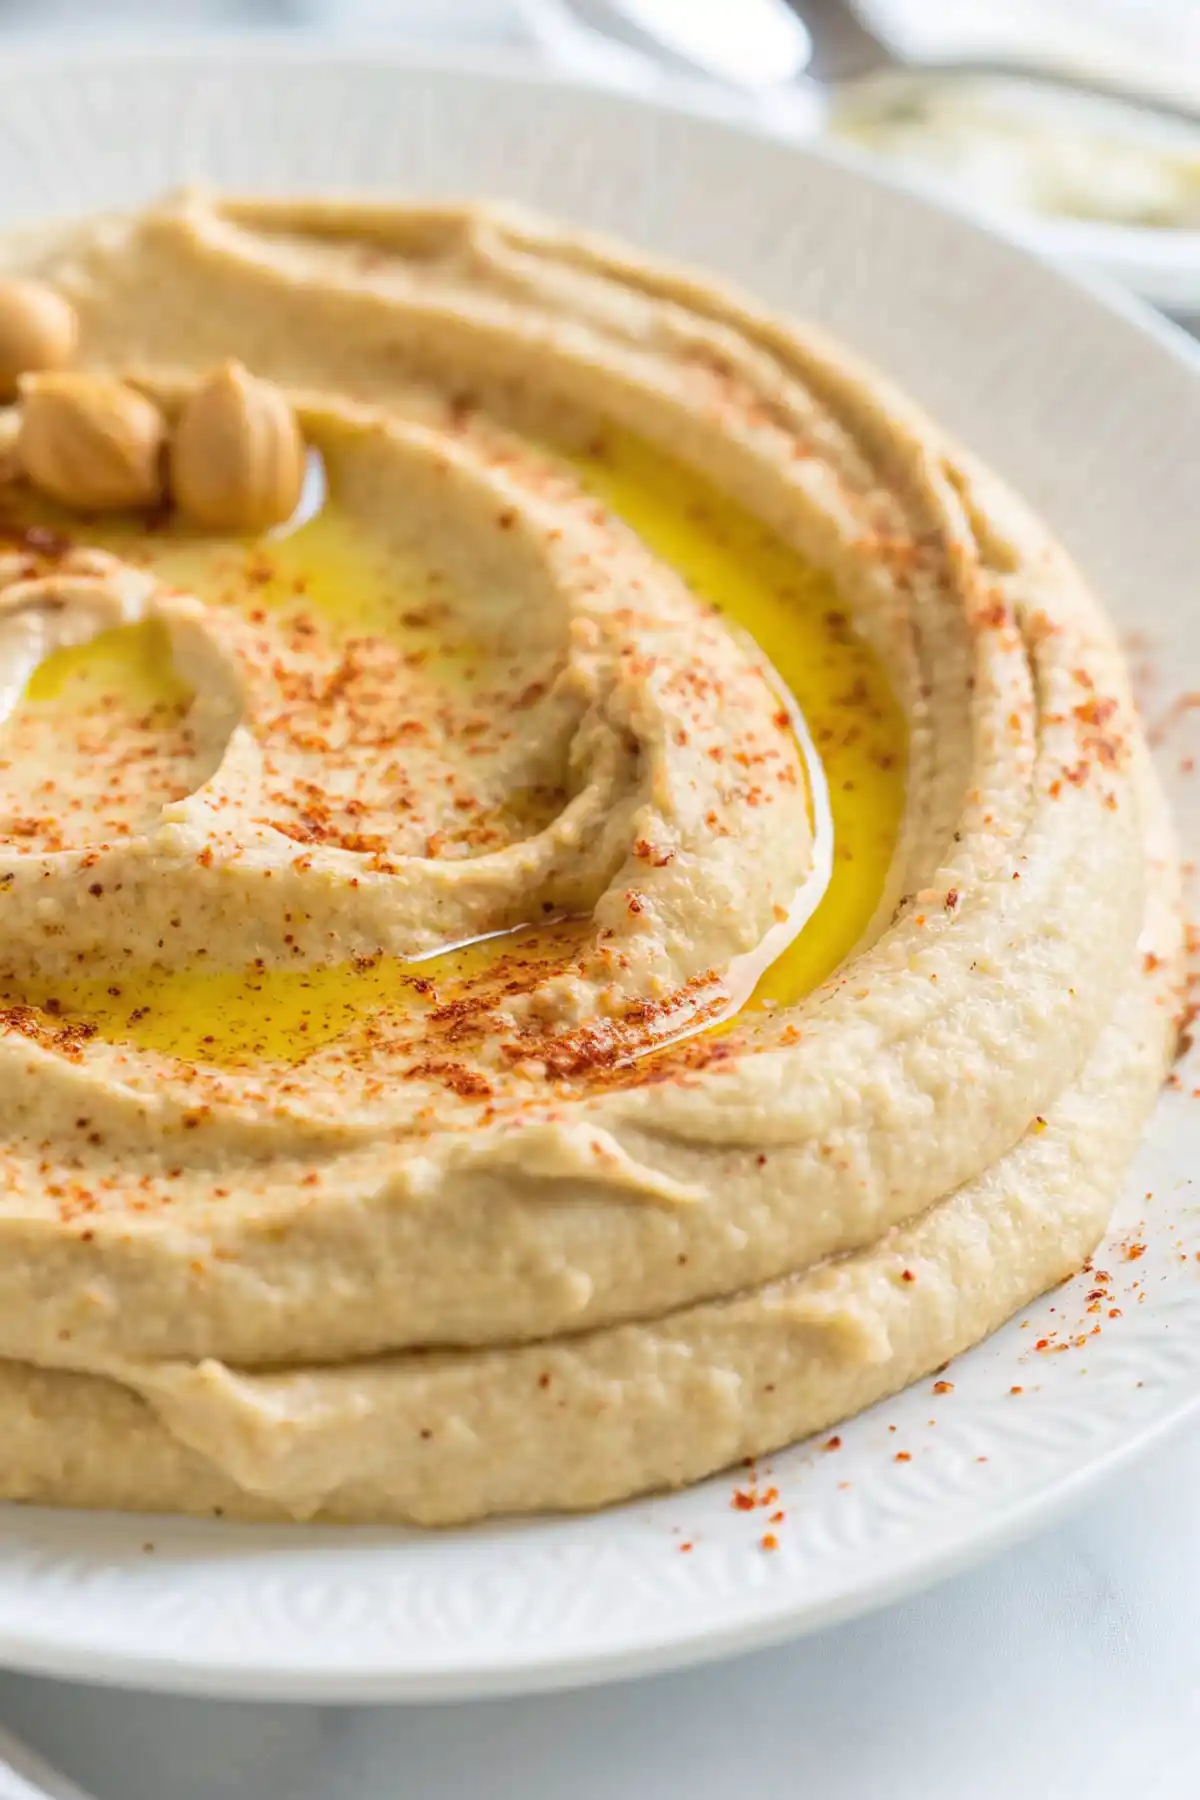
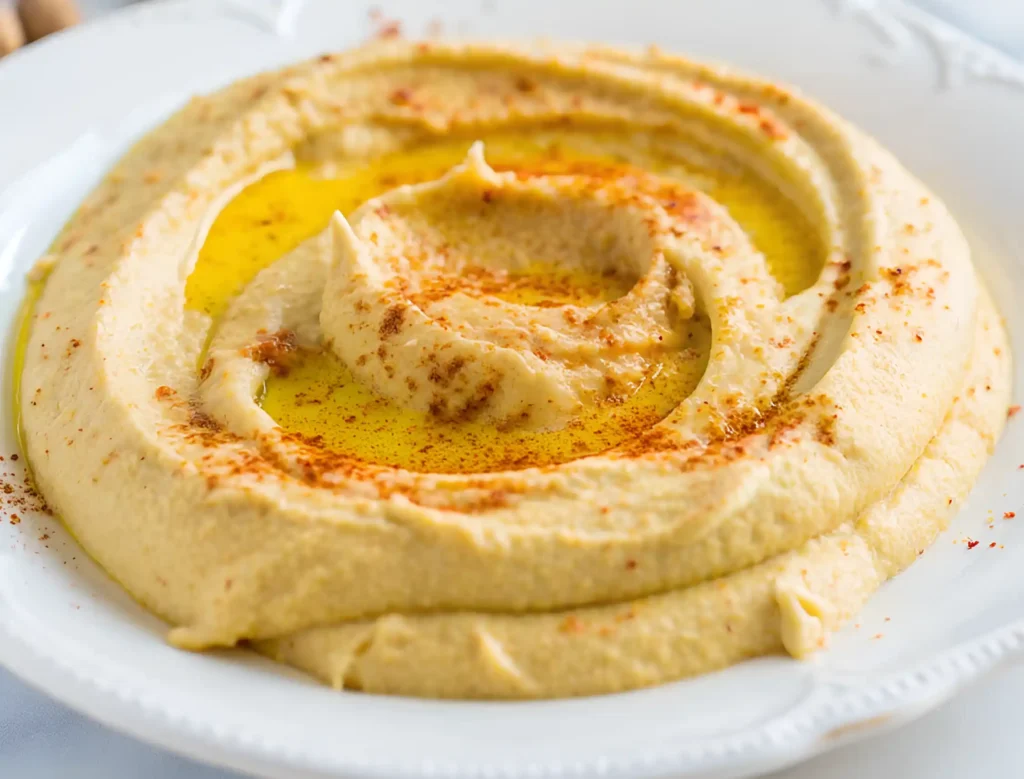
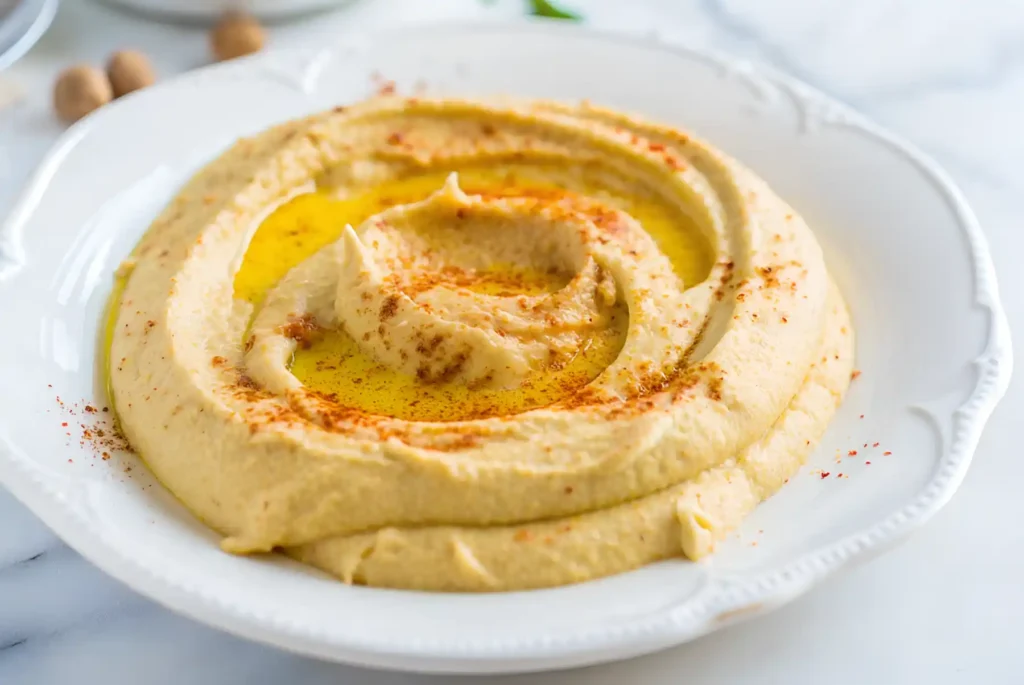
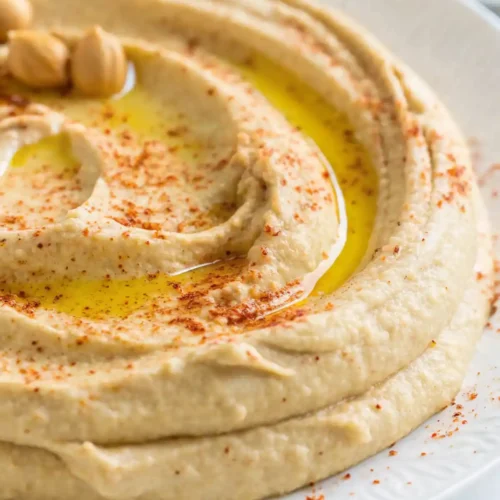
Try a spoonful and adjust the salt or lemon juice if needed. Spoon the hummus into a bowl, make a shallow swirl on top, then drizzle with olive oil. Finish with a sprinkle of paprika, sumac, or Za’atar. Serve at room temperature for the best flavor.
Pro Tips for Success
To Peel or Not to Peel
Peeling chickpeas by hand can take time, but this recipe skips that step. By boiling them with baking soda and blending properly, you still get a silky-smooth texture without the extra work.
Mellow the Garlic
If you’re sensitive to raw garlic, let the minced clove sit in the lemon juice for about ten minutes before blending. This softens the sharp bite and gives a more balanced flavor.
Temperature Matters
Serve hummus at room temperature instead of straight from the fridge. It brings out the full depth of flavor and makes the texture feel creamier.
Flavor Variations to Try
Roasted Red Pepper
Add one or two roasted red peppers to the food processor along with the chickpeas. It adds a smoky-sweet twist and a vibrant color.
Roasted Garlic
Swap the raw garlic for three to four roasted cloves. The flavor becomes mellow and slightly sweet, perfect for garlic lovers who prefer a softer taste.
Spicy Kicker
Add a bird’s eye chili or a pinch of cayenne for a bold, fiery version. Start small and adjust to your spice tolerance.
Herbaceous Blend
Mix in fresh herbs like cilantro or parsley for a green, fresh finish. You can also try a spoonful of pesto for extra depth.
Serving and Storage Guide
Traditional Toppings
Drizzle with a little olive oil and finish with a pinch of paprika, sumac, or Za’atar. These toppings add flavor and a touch of color.
What to Dip
Serve with warm pita bread, soft flatbread, or a variety of fresh vegetables like carrots, cucumbers, or bell pepper strips.
How to Store
Transfer hummus to an airtight container and refrigerate. It stays fresh for up to one week.
Freezing Tips
Yes, hummus can be frozen. Before sealing the container, add a thin layer of olive oil on top to help preserve freshness. Thaw in the fridge and stir well before serving.
Conclusion
This hummus recipe delivers everything you want in a homemade dip. It’s creamy, light, and full of flavor without the need for peeling chickpeas. The tahini-first method and cold water trick guarantee that smooth, whipped texture every time.
If you tried this recipe, leave a comment and give it a star rating. It really helps others find it too.
Feel free to share your hummus on Pinterest or Facebook so others can enjoy it.
What twist did you try? Roasted garlic or spicy chili? Let us know in the comments below.
You Might Also Like…
Homemade Hummus Recipe
Ingredients
For the Base
- 1.5 cups cooked chickpeas or 1 can (15 oz), drained
- 0.25 cup fresh lemon juice about one large lemon
- 0.25 cup tahini stirred well before using
For the Flavor
- 1 clove garlic finely minced
- 2 tbsp extra-virgin olive oil plus extra for topping
- 0.5 tsp ground cumin
- salt to taste
For Texture and Finishing
- 2-3 tbsp cold water or aquafaba to adjust consistency
- 1 pinch paprika, sumac, or Za’atar for garnish
Instructions
- Step 1: Whip the tahini and lemon juice
Add the tahini and lemon juice to a food processor. Blend for one minute, scrape down the sides, and blend again for 30 seconds to whip air into the mixture. - Step 2: Add olive oil, garlic, and spices
Add olive oil, minced garlic, cumin, and salt. Blend for 30 seconds, scrape down the sides, and blend again until smooth and pale. - Step 3: Blend in the chickpeas
Add half of the drained chickpeas and blend for one minute. Scrape down the bowl, add the rest, and blend for another 1–2 minutes until smooth. - Step 4: Adjust the texture
With the processor running, add cold water or aquafaba gradually. Start with two tablespoons and add more if needed until the texture is smooth and fluffy. - Step 5: Taste and finish
Adjust salt or lemon juice to taste. Transfer to a serving bowl, drizzle with olive oil, and garnish with paprika, sumac, or Za’atar. Serve at room temperature.
Notes
Nutrition Facts (Per Serving)
Serving Size: ¼ cupCalories: 155
Total Fat: 11g
Saturated Fat: 1.5g
Cholesterol: 0mg
Sodium: 278.3mg
Carbohydrate: 11.8g
Dietary Fiber: 2.9g
Total Sugars: 1.8g
Protein: 4.5g
FAQs
What are the ingredients for hummus?
Hummus is made with simple pantry staples. You’ll need chickpeas, tahini, fresh lemon juice, garlic, olive oil, ground cumin, salt, and a bit of cold water or aquafaba to adjust the texture. Optional toppings include paprika, sumac, or Za’atar.
What is the secret to good hummus?
The real secret is in the method. Whipping tahini and lemon juice first makes the base airy and smooth. Using baking soda to soften chickpeas also helps blend everything into a velvety finish without peeling each one.
How long is homemade hummus good for?
Stored in an airtight container in the fridge, homemade hummus stays fresh for up to one week. Make sure to seal it properly and stir before serving.
Do you really need tahini for hummus?
Yes, tahini is a key ingredient that gives hummus its classic nutty flavor and creamy texture. If you don’t have it, the result won’t taste quite the same.
Can I use canned chickpeas for hummus?
Absolutely. Canned chickpeas work great and save time. For best texture, boil them with a bit of baking soda before blending. This softens them and makes the hummus extra smooth.
What are common hummus mistakes?
Some common mistakes include using dry chickpeas without soaking or cooking them enough, skipping the tahini, blending everything all at once, or serving it cold from the fridge. These steps can lead to a dense or bland result. Following the right method makes a big difference.