
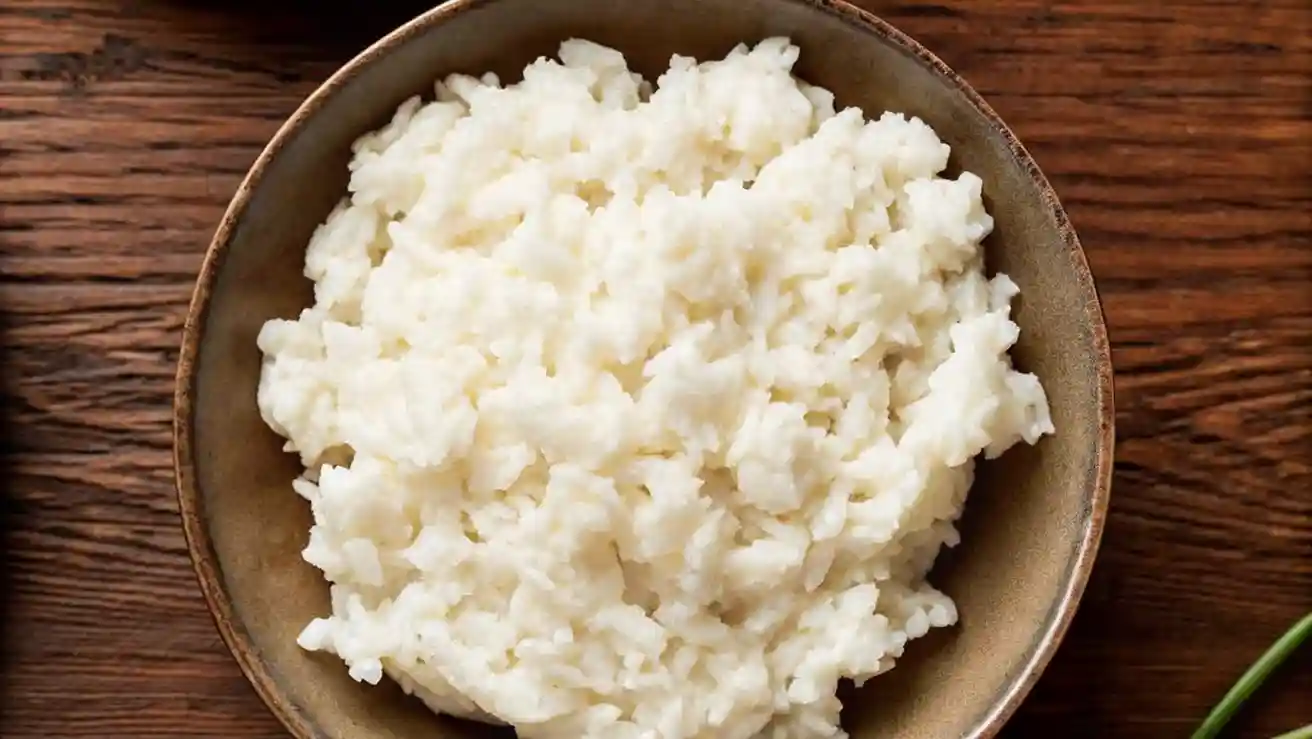
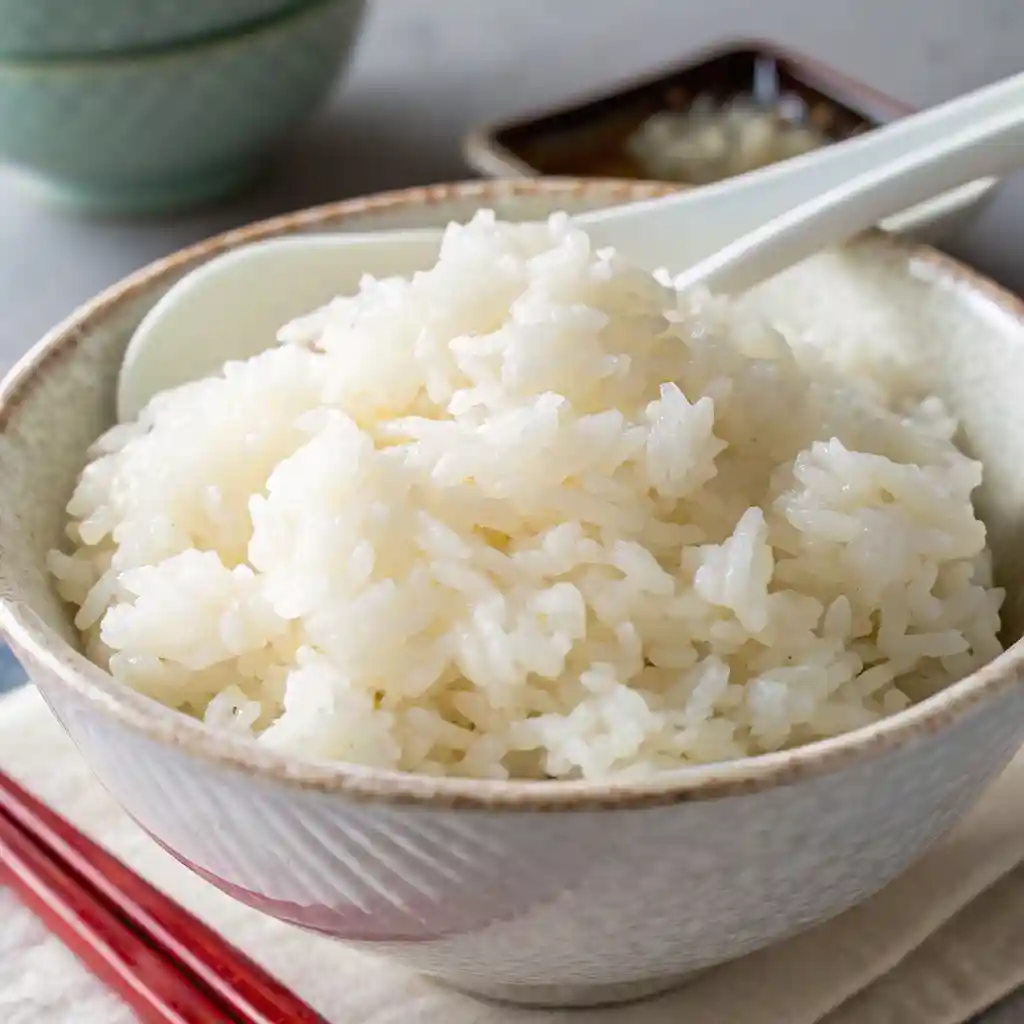
There’s something deeply satisfying about nailing the perfect sushi rice—that glossy, slightly sticky texture, the subtle balance of sweet and tangy, and the comforting aroma that instantly transports you to your favorite Japanese restaurant. If you’ve ever wondered why homemade sushi never quite hits the mark, chances are it’s the rice. But don’t worry—learning how to make sushi rice at home isn’t nearly as intimidating as it sounds. In fact, with just a few simple ingredients and a bit of technique, you can master this essential base for everything from sushi rolls to poke bowls.
Table of Contents
Why You’ll Love Sushi Rice
If you’ve ever tried to roll sushi only to end up with a sticky mess or bland filling, you’re not alone. The truth is, perfect sushi starts with perfect sushi rice. When made correctly, sushi rice transforms your homemade rolls, bowls, or nigiri into something restaurant-worthy.
Authentic Taste That Elevates Every Bite
When you use the right short-grain Japanese rice and season it properly with vinegar, sugar, and salt, the flavor is gently sweet, slightly tangy, and full of umami depth—just like the rice served by professional sushi chefs.
Ideal Texture for Rolling and Shaping
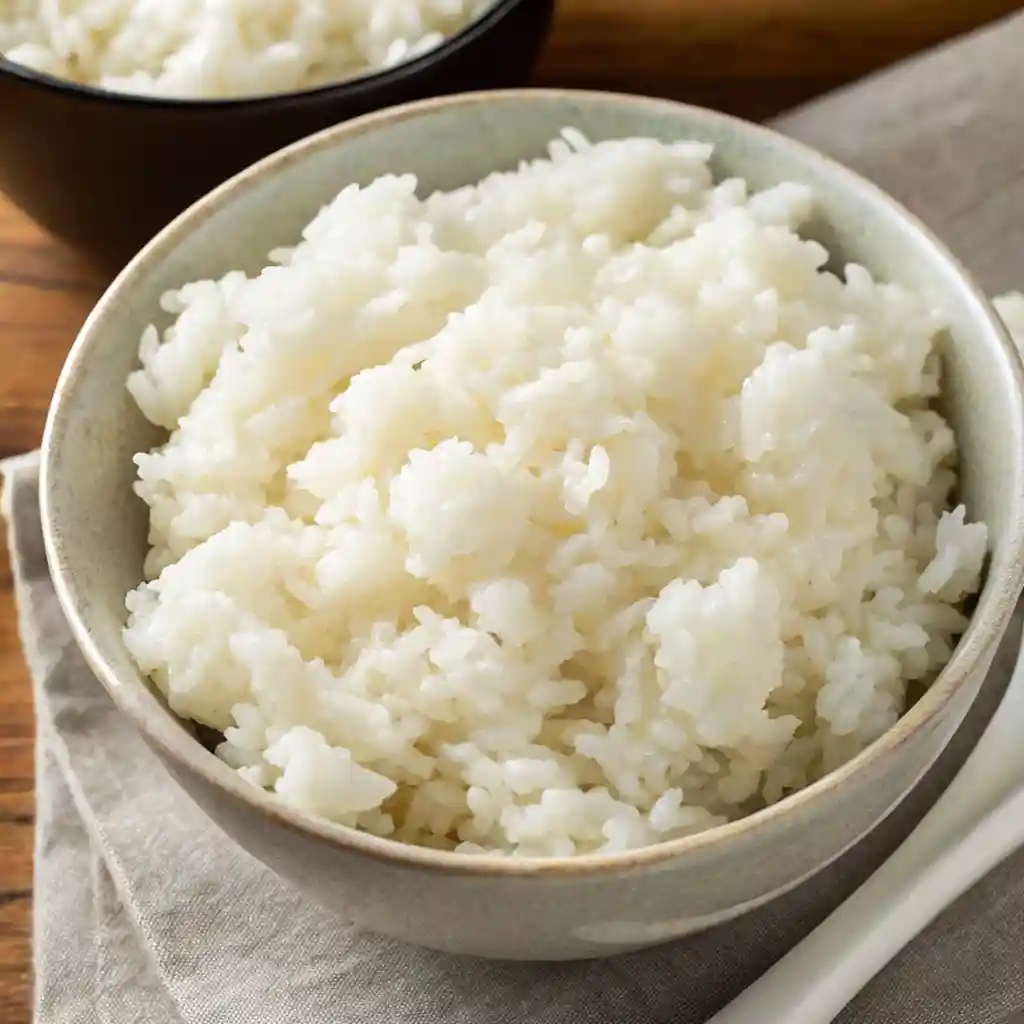
Homemade sushi rice should be fluffy, slightly sticky, and easy to shape, not mushy or dry. Nailing the texture ensures your sushi stays intact without falling apart or feeling too dense.
Total Control Over Ingredients
Store-bought or pre-made sushi rice may contain preservatives or too much sugar. Making it yourself means you can control the sweetness, saltiness, and vinegar level, adjusting everything to your personal taste or dietary needs.
Works for More Than Just Sushi Rolls
This rice isn’t limited to maki rolls. Use it to build sushi bowls, temaki hand rolls, or onigiri (rice balls). It’s a versatile base that works beautifully across a variety of Japanese-inspired dishes.
Saves Money on Takeout
Let’s be honest—sushi from restaurants or delivery apps adds up fast. Mastering this simple staple means you can host sushi nights at home with friends and family while saving money and impressing everyone with your skills.
Easy to Learn, Even Easier to Master
You don’t need a fancy setup to get it right. Whether you use a rice cooker, Instant Pot, or just a stovetop, this process is beginner-friendly with consistent results once you follow a few simple steps.
Ingredients You’ll Need
Making restaurant-quality sushi rice at home starts with using the right ingredients in the right ratios. Every item here plays an important role in achieving the perfect texture and flavor balance—slightly sticky, delicately seasoned, and full of subtle depth.
Here’s what you’ll need:
Main Ingredients
- 2 cups short-grain Japanese rice
Look for premium varieties like Koshihikari or any labeled “sushi rice.” Avoid long-grain or jasmine rice—they won’t give you the sticky consistency needed for shaping sushi. - 2 cups cold water (for cooking)
The ratio of rice to water is key to getting that fluffy yet cohesive texture. You can slightly adjust the water depending on your rice brand and cooking method.
Sushi Vinegar Seasoning
This mixture gives sushi rice its iconic flavor. It’s gently sweet, tangy, and aromatic—bringing out the umami in the rice.
- ¼ cup unseasoned rice vinegar
Unseasoned vinegar lets you control the sugar and salt levels precisely. Seasoned rice vinegar is often pre-mixed and can throw off the balance. - 1½ tablespoons sugar
Helps soften the tang of the vinegar and brings out the natural flavor of the rice. - 1 teaspoon salt
Improves the overall flavor without overpowering the other ingredients.
Optional Enhancements
- 1 teaspoon mirin (optional)
For a touch of extra sweetness and shine, some recipes include mirin, a mild Japanese cooking wine. - Kombu (1 small piece, optional)
Soaking a piece of dried kelp in the water while cooking adds an extra layer of savory flavor—perfect if you want a deeper umami base.
For Rinsing the Rice
- Cold water (multiple changes)
Rinsing is essential to remove excess starch. This step prevents the rice from becoming gummy or too soft.
Once you have these ingredients and tools in place, you’re well on your way to mastering sushi rice.
How to Make Sushi Rice
Getting perfect sushi rice isn’t about complicated techniques—it’s about consistency and attention to a few simple details. Whether you use a rice cooker or stovetop, follow these clear steps to get light, fluffy, and slightly sticky rice that’s perfect for sushi rolls, bowls, or nigiri.
Rinse the Rice Thoroughly
Removing excess starch prevents the rice from becoming gummy or overly sticky.
How to do it:
- Place 2 cups of short-grain Japanese rice in a fine-mesh sieve or bowl.
- Rinse the rice under cold running water while gently moving it around with your fingers.
- Drain and repeat 4–5 times until the water runs nearly clear.
- Let the rice drain in a sieve for 10–15 minutes. This helps the grains absorb water more evenly during cooking.
Soak the Rice
Soaking hydrates the rice evenly before heat is applied, resulting in a better texture.
- Transfer the rinsed rice to your rice cooker or cooking pot.
- Add 2 cups of cold water (adjust slightly if using a different rice brand).
- Let the rice soak for 30 minutes at room temperature.
Tip: If using kombu (optional), place a small piece in the water during soaking for a subtle umami flavor.
Cook the Rice
Using a rice cooker:
- Turn it on and let it cook according to the default white rice setting.
Using the stovetop method:
- Place a snug-fitting lid on the pot.
- Heat over medium until the water begins to boil softly.
- Once boiling, reduce to low heat and simmer for 15 minutes.
- Turn off the heat and let the rice steam, covered, for another 10 minutes.
Do not lift the lid during cooking or steaming.
Make the Sushi Vinegar
While the rice is steaming, prepare the seasoning:
- In a small saucepan, combine:
- ¼ cup unseasoned rice vinegar
- 1½ tablespoons sugar
- 1 teaspoon salt
- ¼ cup unseasoned rice vinegar
- Heat over low just until the sugar and salt dissolve—do not boil.
- Set aside to cool.
Season and Cool the Rice
Adding the vinegar while the rice is still warm helps it soak up the seasoning evenly and enhances the overall taste.
- Transfer the hot rice to a wide bowl (preferably a hangiri or large wooden salad bowl).
- Drizzle the sushi vinegar evenly over the rice.
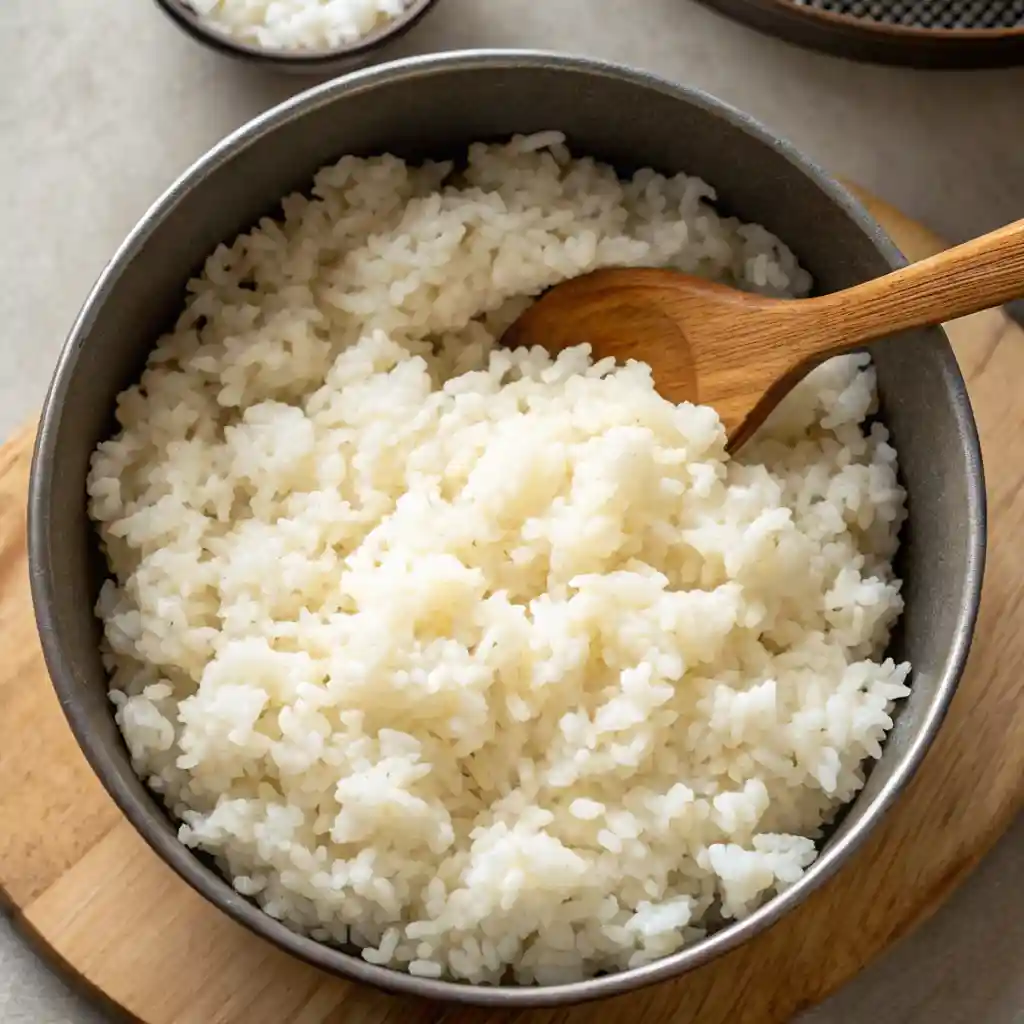
- Use a shamoji or flat spatula to mix:
- Cut through the rice with a slicing motion.
- Gently fold the rice without squashing the grains.
- Cut through the rice with a slicing motion.
- As you mix, fan the rice using a hand fan or small cutting board to help it cool quickly. This gives the rice a glossy finish and prevents over-softening.
Rest Before Using
Let the seasoned rice sit at room temperature for 10–15 minutes before using. Keep it covered with a clean, damp towel to retain moisture.
Now your sushi rice is ready to use for rolls, bowls, or any Japanese-inspired dish.
Pro Tips and Variations
Even though the process seems simple, a few subtle adjustments can make your sushi rice go from good to great. Below are helpful tips for consistency, flavor balance, and customization—whether you’re a first-timer or aiming to level up your sushi game.
Pro Tips for Best Results
1. Always Rinse Until Clear
Rinsing removes excess surface starch. If skipped, your rice may turn out gummy or overly sticky. Clear rinse water is your go-to signal that you’ve done it right.
2. Don’t Skip the Soak
Soaking lets each grain absorb water before cooking, giving your rice that classic even, fluffy texture. It’s a step that separates dry rice from sushi-worthy rice.
3. Avoid Overmixing
When seasoning, gently cut and fold the rice—don’t stir or press. Crushing the grains makes them clump and lose their delicate feel.
4. Fan the Rice While Mixing
Fanning helps evaporate excess moisture, cools the rice evenly, and gives it a subtle glossy finish, just like what you’d see at a sushi bar.
5. Use a Wooden or Plastic Utensil
A metal spoon retains heat and can damage grains, while a wooden rice paddle or plastic spatula is gentler and distributes seasoning more evenly.
6. Cover With a Damp Cloth
After mixing, keep the rice covered with a clean, damp kitchen towel to prevent drying out while it rests.
Easy Variations to Try
Sushi rice is incredibly versatile. Here are some practical, tasty variations you can try based on dietary needs or flavor preferences.
Low Sugar Version
- Reduce the sugar by half or leave it out completely if you prefer a more savory base—great for pairing with sashimi or poke bowls.
Brown Sushi Rice
- Use short-grain brown rice for more fiber and a slightly nuttier flavor. It won’t be quite as sticky, but it’s still rollable if soaked longer and cooked thoroughly.
Vegan Umami Boost
- Add a 2-inch piece of kombu (dried kelp) to the rice water. It brings a savory, plant-based umami boost without overpowering the flavor.
Seasoned Vinegar Twist
- Infuse your vinegar mix with a tiny slice of fresh ginger or citrus zest while warming it. Strain before use for a subtle, fragrant finish.
Mirin Addition
- If you like a slightly sweet and glossy rice, add 1 teaspoon of mirin to the seasoning mix. It’s optional but adds depth.
Common Mistakes to Avoid
- Using the wrong rice: Long-grain or jasmine rice will not give the right stickiness or flavor.
- Skipping vinegar seasoning: Without it, it’s just plain rice—not sushi rice.
- Serving hot rice: Sushi rice should be slightly warm or room temp. Hot rice ruins delicate fish and melts nori.
- Overcooking the rice: Mushy rice won’t hold shape and will feel heavy.
How to Use Sushi Rice

Once your sushi rice is perfectly cooked, seasoned, and rested, the fun begins. Sushi rice is incredibly versatile—whether you’re going for classic rolls, quick bowls, or creative fusions, it forms the foundation of every great Japanese-inspired dish.
Here’s how to put it to delicious use:
Make Traditional Sushi Rolls (Maki)
Use your sushi rice to roll up classic maki rolls with fillings like cucumber, avocado, crab, or tuna. Spread a thin layer of rice over a nori sheet, add your fillings, and roll tightly using a bamboo mat.
Try these combos:
- Avocado + Cucumber + Pickled Carrot
- Spicy Tuna + Scallion + Sesame Seeds
- Tempura Shrimp + Avocado + Sriracha Mayo
Pro tip: Dip your fingers in water before spreading the rice to keep it from sticking to your hands.
Shape Into Nigiri
For nigiri, scoop a small oval of rice, gently press it together, and top it with thin slices of raw fish, tofu, or egg (tamago). Add a dab of wasabi between the rice and topping for a traditional kick.
Popular toppings include:
- Salmon (sake)
- Shrimp (ebi)
- Egg omelet (tamago)
- Seared tuna with soy glaze
Build Custom Sushi Bowls
Short on time? Sushi bowls are fast, flexible, and satisfying. Layer your sushi rice in a bowl, then top with your favorite proteins, veggies, and sauces.
Build-your-own ideas:
- Sliced avocado, cucumber, spicy mayo, sesame seeds
- Cooked salmon, edamame, shredded carrot, soy sauce
- Crab sticks, mango cubes, seaweed salad, and a drizzle of ponzu dressing
Try Onigiri (Japanese Rice Balls)
Shape your sushi rice into triangle or round balls, optionally filling the center with pickled plum, tuna mayo, or grilled salmon. Wrap with a strip of nori to make it easy to handle.
Perfect for:
- Bento boxes
- Picnic snacks
- Kids’ lunches
Make Temaki (Hand Rolls)
Temaki are cone-shaped hand rolls made by spreading sushi rice and fillings diagonally over half a nori sheet and rolling it into a cone.
Filling ideas:
- Spicy crab and avocado
- Tofu and cucumber with teriyaki glaze
- Tuna salad and microgreens
Fun idea: Set up a DIY temaki station for dinner parties or sushi nights.
Bonus Serving Ideas
- Vegan Sushi: Use marinated tofu, grilled mushrooms, or pickled vegetables with sushi rice for a completely plant-based roll or bowl.
- Mini Sushi Sandwiches (Onigirazu): Layer sushi rice and fillings between two sheets of nori and wrap tightly for a bento-box-friendly sandwich.
- Sushi Tacos: Use small sheets of nori as taco shells and fill with sushi rice and fresh toppings for a playful twist.
No matter how you use it, great sushi rice gives structure, flavor, and satisfaction to every bite.
Final Thoughts
Great sushi starts with great rice. With just a few simple steps—rinsing, soaking, cooking, and seasoning—you can make perfect sushi rice at home every time. It’s the base for everything from traditional rolls to creative sushi bowls and snacks.
Now that you’ve got the method down, feel free to explore different variations, toppings, and serving styles. Sushi rice isn’t just a side—it’s the heart of the dish.
Try it out, tweak it a bit, and make it your own. Whether you’re prepping for a casual dinner or a sushi party, this rice will set the stage for something delicious.
If you found this guide helpful, share it and spread the love—because homemade sushi is better with friends.
Sushi Rice
Ingredients
For the Rice:
- 2 cups short-grain sushi rice
- 2 cups cold water
For the Seasoning:
- ¼ cup rice vinegar unseasoned
- 1½ tbsp sugar
- 1 tsp salt
Optional:
- 1 tsp mirin
- 1 small piece kombu
Instructions
Rinse the Rice:
- Place the rice in a fine-mesh strainer and rinse under cold water, gently swishing with your fingers. Repeat until the water runs clear (about 4–5 times). Drain well and let rest for 10 minutes.
Soak the Rice:
- Transfer the rinsed rice to a pot or rice cooker. Add 2 cups of cold water. Let it soak for 30 minutes at room temperature.
Cook the Rice:
- Rice Cooker: Cook using the white rice setting.
- Stovetop: Cover and bring to a boil, then reduce to low and simmer for 15 minutes. Turn off heat and let steam, covered, for 10 minutes.
Prepare the Seasoning:
- In a small saucepan, gently heat rice vinegar, sugar, and salt until fully dissolved. Do not boil. Let it cool slightly.
Season the Rice:
- Transfer the cooked rice to a large bowl. Gently drizzle the vinegar mixture over the rice. Using a rice paddle or silicone spatula, fold the rice with a slicing motion. Avoid mashing the grains.
Cool and Rest:
- Fan the rice while mixing to cool it evenly and add a light sheen. Cover with a damp cloth and let rest for 10–15 minutes before using.
Notes
| Nutrient | Amount |
|---|---|
| Calories | 242 kcal |
| Total Fat | 0.4 g |
| Saturated Fat | 0.1 g |
| Carbohydrates | 53 g |
| Sugars | 2.8 g |
| Protein | 4.4 g |
| Fiber | 0.6 g |
| Sodium | 290 mg |
FAQs
Can I use jasmine or basmati rice instead of sushi rice?
No. Jasmine and basmati rice are long-grain varieties and lack the sticky texture needed to hold sushi together. For best results, use short-grain Japanese rice like Koshihikari or any rice labeled “sushi rice.”
Do I need a rice cooker to make sushi rice?
Not at all. A heavy-bottomed pot with a tight lid works just fine. A rice cooker offers convenience, but the stovetop method delivers equally good results when timed properly.
Why is my sushi rice too sticky or mushy?
It’s likely due to insufficient rinsing or too much water. Be sure to rinse the rice until the water runs clear and measure your water carefully. Also, don’t skip the resting and cooling stages.
Can I prepare sushi rice ahead of time?
Yes—but for best results, use it within 4 to 6 hours. Keep it at room temperature covered with a damp towel. Avoid refrigerating it, as cold storage will make the rice hard and dry.
Is seasoned rice vinegar the same as sushi vinegar?
Not exactly. Seasoned rice vinegar is pre-mixed with sugar and salt. Sushi vinegar is a homemade blend of unseasoned rice vinegar, sugar, and salt. Making it yourself allows more control over flavor.
How long does leftover sushi rice last?
Fresh is best, but you can store leftover rice in an airtight container at room temperature for up to 6 hours, or refrigerate it for up to 1 day. Reheat gently before use, and don’t use for raw fish dishes if it’s been chilled.