
Have a can of cherries sitting in your pantry and wondering what magic you can make with it? You’re about to discover an easy canned cherry dessert that’s not only quick to whip up but also bursting with sweet, nostalgic flavor. Whether you’re craving a cozy topping for cheesecake or a fruity layer for a no-bake treat, this Canned Cherries Delight has you covered.
Made with simple ingredients and ready in minutes, it’s one of those recipes you’ll keep coming back to—especially when you need a last-minute dessert that still feels homemade and heartfelt. Let’s turn that humble can of cherries into something truly unforgettable.
Table of Contents
Key Benefits of This Canned Cherries Delight
Let’s be honest—some of the best desserts come from the most unexpected ingredients, and canned cherries are a perfect example. This recipe takes something simple and turns it into something truly special. Here’s why you’ll want to bookmark this one:
Quick and Effortless
- You don’t need to pit cherries, make a crust, or turn on the oven (unless you want to). With just a can and a few pantry staples, you’ll have dessert in under 20 minutes.
Versatile and Crowd-Pleasing
- Whether spooned over ice cream, layered in parfaits, or tucked into puff pastry, this sweet cherry filling works with almost anything.
- It transitions effortlessly from weeknight dessert to dinner-party stunner.
Balanced Flavor, Just Sweet Enough
- A splash of lemon juice and a hint of almond or vanilla extract bring out the natural tartness of the cherries and balance the sweetness beautifully.
Great for All Seasons
- No need to wait for cherry season—this recipe delivers bright, juicy flavor year-round, making it perfect for both summer gatherings and cozy winter treats.
Beginner-Friendly
- No fancy techniques. Just basic cooking, stirring, and tasting as you go. It’s a great way to build confidence in the kitchen while making something genuinely delicious.
With all these perks, it’s easy to see why this easy dessert with canned cherries will quickly become a go-to favorite in your recipe collection.
Ingredients You’ll Need
This recipe is all about simplicity and flexibility, making it ideal for quick desserts or impromptu entertaining. You likely have most of these ingredients on hand already, and a single can of cherries goes a long way.
Main Ingredients
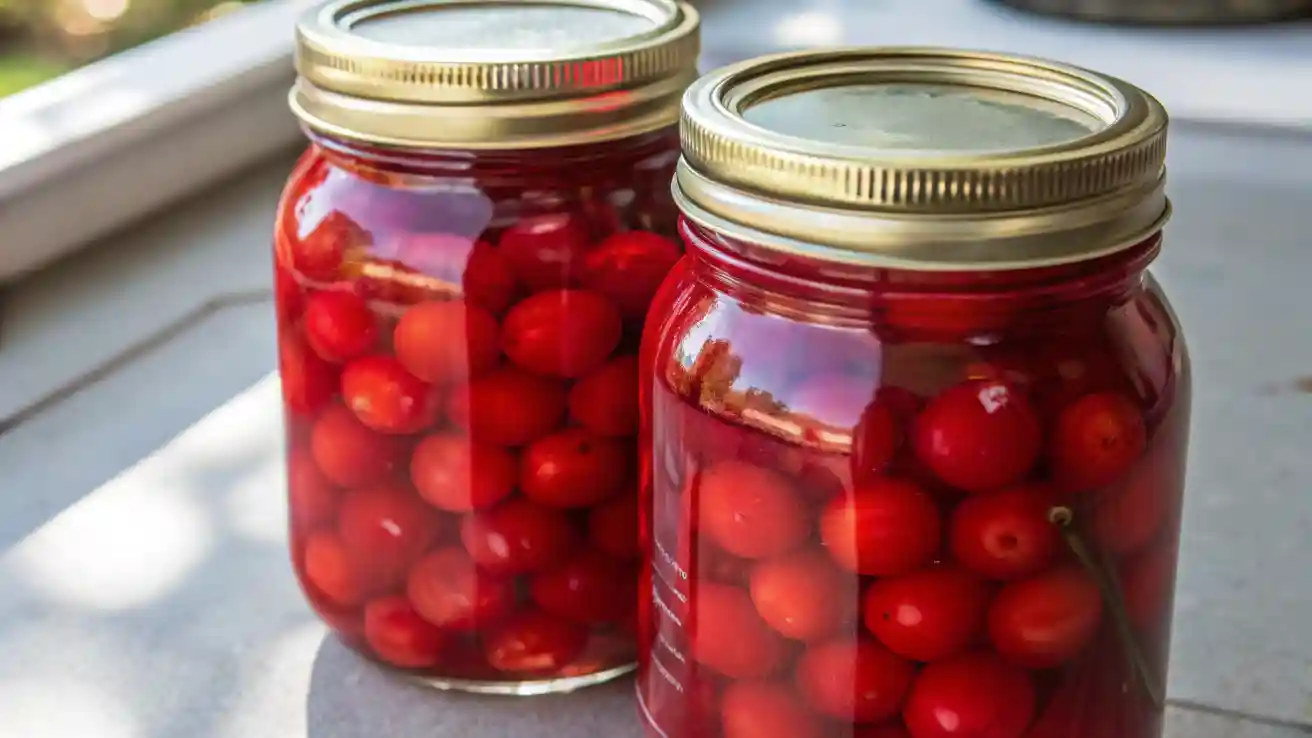
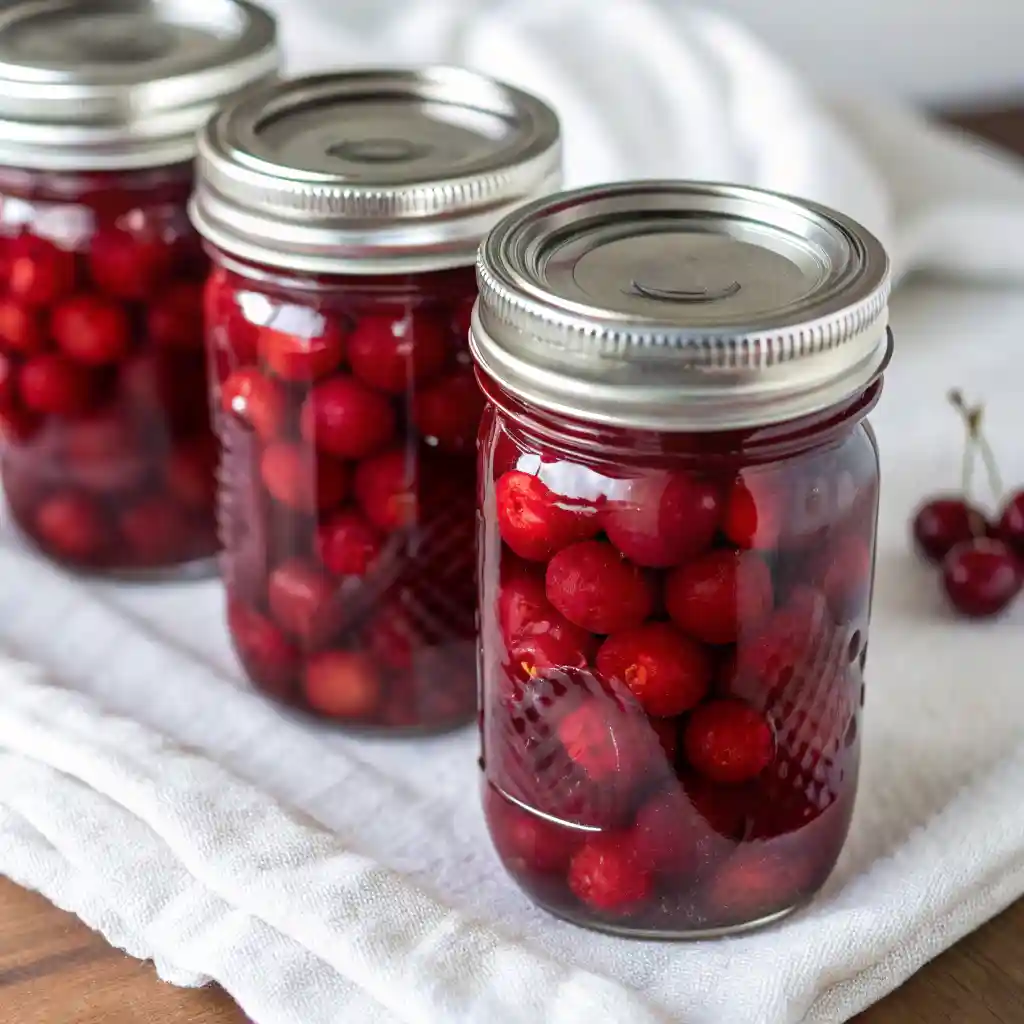
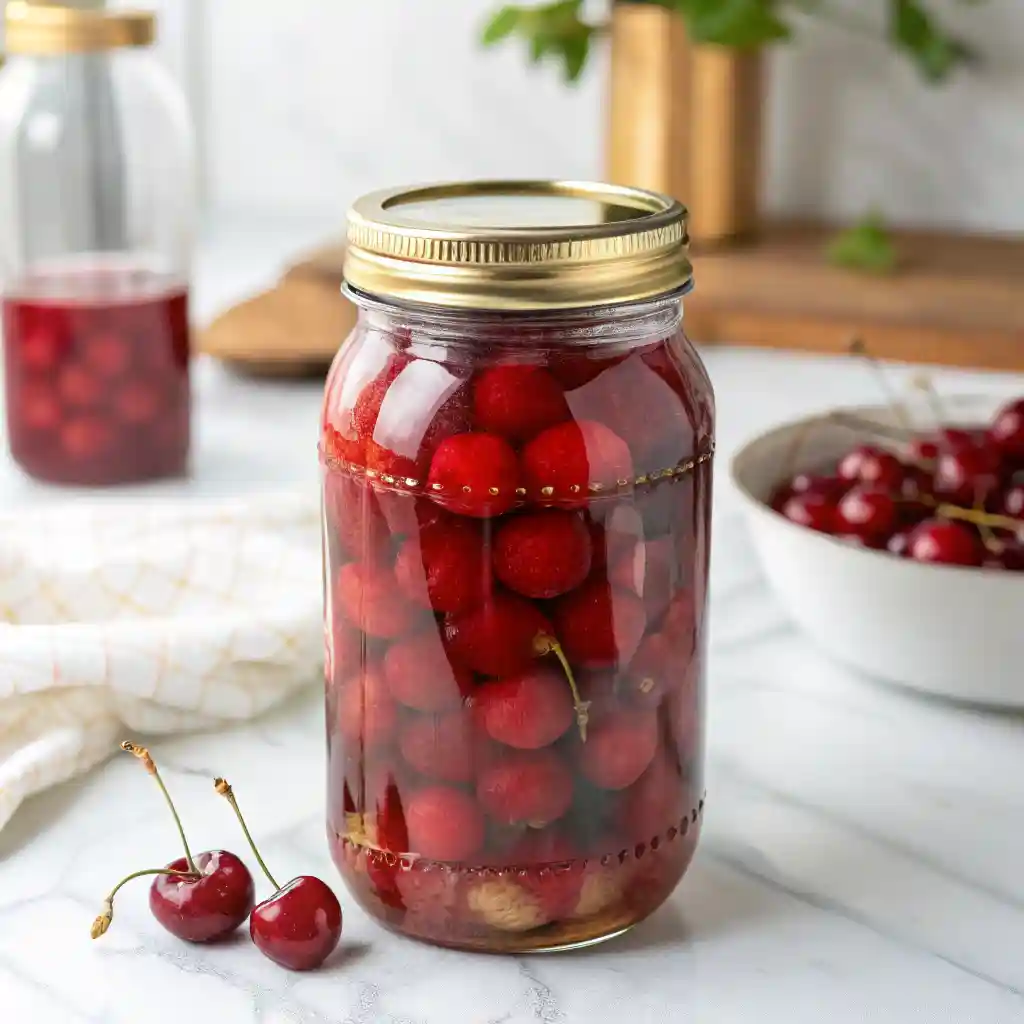
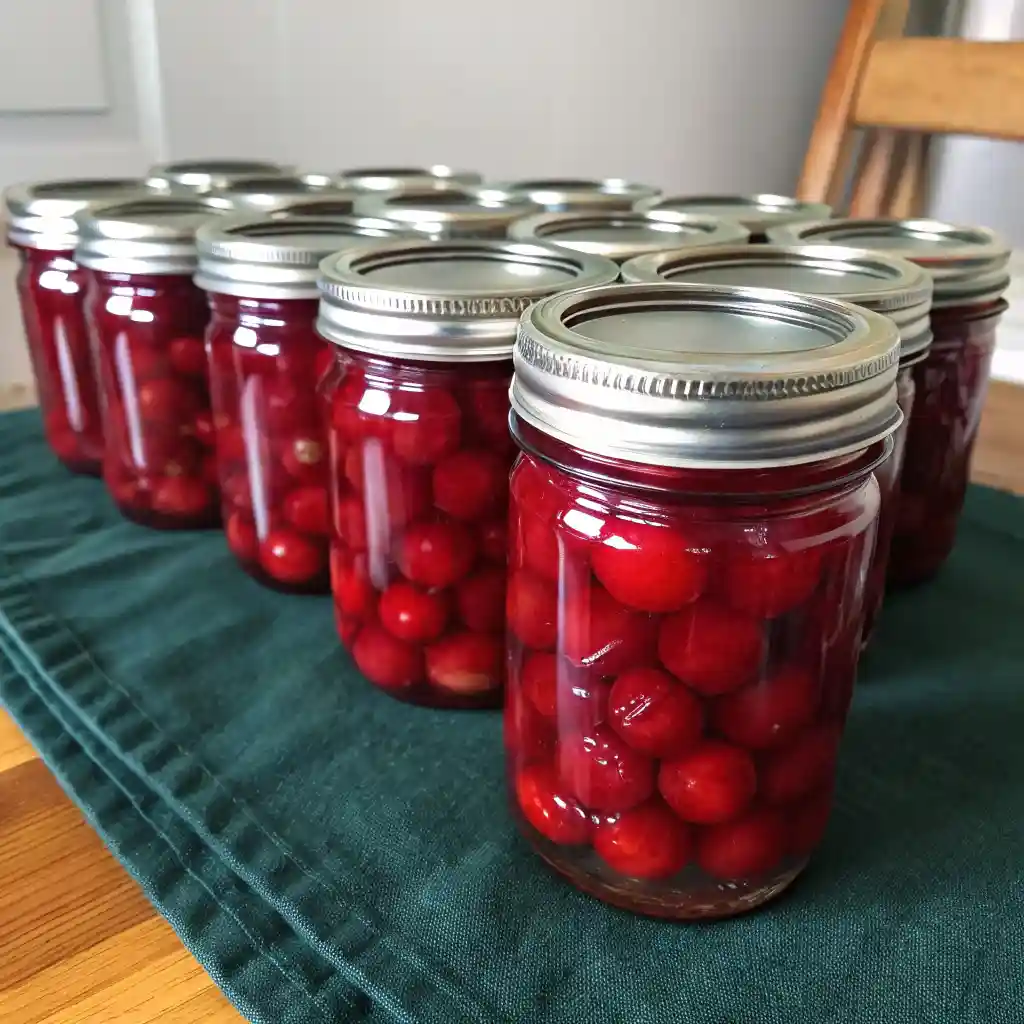
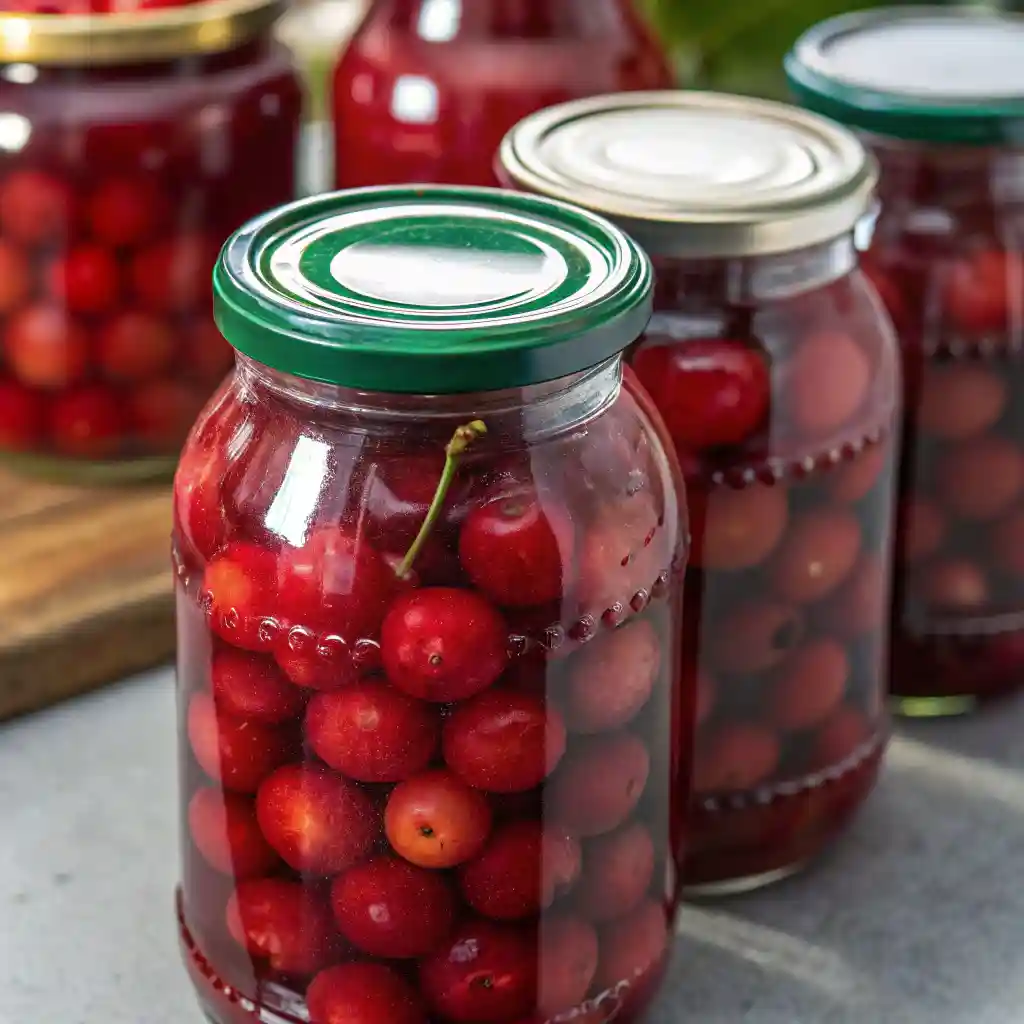
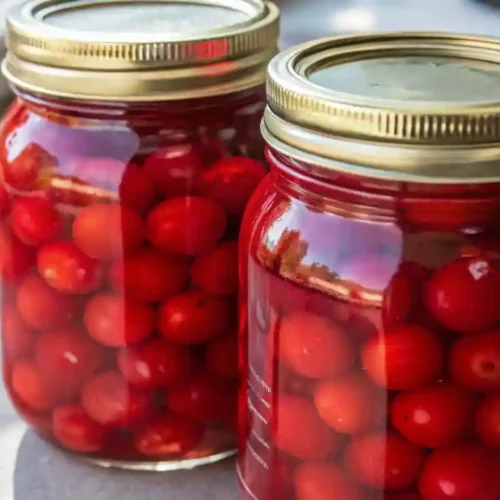
- 1 can (15–21 oz) of canned cherries
You can use sweet cherries, tart cherries, or cherry pie filling depending on your preference. If using tart cherries, you may want to increase the sugar slightly. - ¼ cup granulated sugar
Adjust based on how sweet your canned cherries are. Pie filling may not need any extra. - 1 tablespoon cornstarch
For thickening the mixture into a spoonable, glossy cherry sauce. - ¼ cup water or reserved cherry juice
This helps dissolve the cornstarch and creates a smooth base. - 1 tablespoon lemon juice
Brightens the flavor and balances the sweetness. - ½ teaspoon vanilla extract or almond extract
Both pair beautifully with cherries—choose based on your flavor mood. - Pinch of salt
Just enough to enhance and round out the flavors.
Optional Add-Ins for Extra Flair
- 1 tablespoon butter – for a silkier finish
- ¼ teaspoon cinnamon – adds cozy warmth
- Zest of ½ lemon or orange – for extra brightness
- Splash of cherry liqueur or brandy – for an adult twist
These ingredients come together in just a few steps, creating a quick cherry dessert that’s full of homemade flavor, even when starting from a can. Ready to bring it to life? Let’s get cooking.
How to Make Canned Cherries

Follow these straightforward steps to transform a humble can of cherries into a luscious dessert sauce you’ll reach for again and again:
1. Drain and reserve the juice (if needed)
- If using canned cherries in juice, pour the liquid into a measuring cup. You’ll need ¼ cup for dissolving the cornstarch.
- If using cherry pie filling, skip this step and reduce added sugar.
2. Make a cornstarch slurry
- In a small bowl, whisk 1 tablespoon cornstarch with ¼ cup water or reserved juice until completely smooth—no lumps!
- This ensures your cherry sauce thickens evenly.
3. Combine cherries and sugar
- Add the canned cherries (and any remaining juice) to a medium saucepan.
- Stir in ¼ cup sugar (adjust to taste) plus a pinch of salt.
4. Simmer gently
- Place the pan over medium heat and bring the mixture to a gentle simmer, stirring occasionally.
- Once it starts to bubble, lower the heat to prevent scorching.
5. Thicken the sauce
- Whisk the cornstarch slurry again (it settles quickly), then pour it into the cherries while stirring continuously.
- Continue cooking 1–2 minutes until the sauce turns glossy and coats the back of a spoon.
6. Finish with flavor
- Remove from heat and stir in 1 tablespoon lemon juice plus ½ teaspoon vanilla or almond extract.
- Optional: swirl in 1 tablespoon butter for extra silkiness.
7. Cool and serve
- Let the cherry mixture cool for 10 minutes; it will thicken a bit more.
- Serve warm over ice cream or let it chill for parfaits, cheesecakes, or quick puff‑pastry turnovers.
Pro Insight: If the sauce thickens more than you’d like after chilling, stir in a spoonful of warm water—or cherry liqueur for a bolder twist—until you reach the perfect, spoonable consistency.
Pro Tips and Fun Variations
This recipe is wonderfully flexible, which means you can easily customize it to suit your mood, occasion, or ingredients on hand. Below are some expert tips and delicious twists to help you get the most out of your canned cherry dessert experience.
Pro Tips for Perfect Results
- Taste before sweetening
Not all canned cherries are equally sweet. If you’re using cherry pie filling, you may not need additional sugar at all. For tart cherries, adjust sweetness to your liking. - Keep the slurry smooth
Always stir the cornstarch mixture again just before adding it to the pan—it settles quickly. A quick whisk avoids lumps and ensures silky texture. - Simmer gently
High heat can break down the cherries too much. A gentle simmer thickens the sauce without sacrificing those beautiful whole pieces. - Add flavor last
Always stir in extracts and lemon juice after cooking to preserve their brightness and aroma. - Store like a pro
Let the sauce cool completely, then transfer to a clean jar. It’ll stay fresh in the refrigerator for up to one week.
Creative Variations to Try
- Cinnamon-Spiced Cherry Sauce
Add ¼ teaspoon ground cinnamon during the simmering step for a cozy, spiced twist—perfect for fall or winter desserts. - Boozy Cherry Compote
Stir in 1 tablespoon of cherry liqueur or brandy after cooking for a grown-up dessert topping. - Chocolate-Cherry Fusion
Mix in 1 tablespoon cocoa powder (with the sugar) and a pinch of espresso powder for a rich, chocolate-cherry vibe. - Coconut Cherry Topping
Use coconut milk instead of water for a tropical touch and creamier consistency. - Lemon Cherry Glaze
Add extra lemon zest and reduce the sugar for a bright, tangy topping ideal for pound cake or yogurt.
Whether you’re looking to impress dinner guests or just elevate your weeknight treat, these variations offer endless ways to enjoy your homemade cherry topping—each one just as memorable as the last.
How to Use Your Canned Cherries
One of the best parts about this easy canned cherry recipe is just how many ways you can enjoy it. Whether you’re in the mood for something cozy, refreshing, or show-stopping, this cherry delight has you covered.
Top It Off
- Cheesecake: Drizzle the cherry sauce over a classic New York–style cheesecake for an instant bakery-worthy finish.
- Ice Cream Sundaes: Pour warm or chilled cherry topping over vanilla or chocolate ice cream for a nostalgic dessert.
- Pancakes & Waffles: Skip the syrup and go fruity—this cherry topping adds a gourmet touch to your brunch favorites.
Layer It Up
- Yogurt Parfaits: Layer with Greek yogurt and granola for a breakfast that feels like dessert.
- Chia Pudding: Spoon on top of vanilla or coconut chia pudding for a fruity finish with texture and depth.
- Trifles or Tiramisu: Use the sauce as a sweet, tangy layer in individual trifles or no-bake cherry tiramisu cups.
Bake With It
- Turnovers: Fill puff pastry squares with a spoonful of the cherry mixture, fold, and bake for an irresistible handheld treat.
- Mini Tarts or Galettes: Use the topping in pre-baked tart shells or rustic galette dough for a beautiful, low-effort dessert.
- Cake Filling: Add it between layers of chocolate or vanilla cake for a fruity contrast and splash of color.
How to Store and Serve
- Let the cherry sauce cool completely before storing.
- Keep it in an airtight jar or container in the refrigerator for up to 7 days.
- It can be served warm, room temperature, or chilled, depending on the dessert.
From brunch to bake sales and everything in between, this sweet cherry filling adds instant charm and cherry-packed goodness to just about any dish. Try it a few ways—you’ll find it’s surprisingly addictive.
Final Thoughts
With one humble can of cherries and a handful of pantry staples, you’ve created a quick canned cherry dessert that delivers bright flavor, velvety texture, and endless versatility. Whether you spoon it over cheesecake, fold it into parfaits, or bake it into turnovers, this homemade cherry topping proves that convenience can taste every bit as memorable as from-scratch. Keep a can in your cupboard, and you’ll always be just minutes away from a dessert delight you—and your guests—will never forget.
Canned Cherries
Ingredients
Main Ingredients:
- 1 can 15–21 oz canned cherries
- ¼ cup granulated sugar
- 1 tablespoon cornstarch
- ¼ cup water or reserved cherry juice
- 1 tablespoon lemon juice
- ½ teaspoon vanilla extract or almond extract
- Pinch of salt
Optional Add-Ins:
- 1 tablespoon butter
- ¼ teaspoon cinnamon
- Zest of ½ lemon or orange
- Splash of cherry liqueur or brandy
Instructions
Drain (if needed):
- If using canned cherries in juice, drain and reserve ¼ cup of the liquid.
- If using cherry pie filling, you can skip the draining and reduce the added sugar.
Make a slurry:
- In a small bowl, whisk 1 tablespoon cornstarch with ¼ cup water (or reserved juice) until smooth and lump-free.
Heat the cherries:
- Pour the canned cherries into a medium saucepan.
- Add ¼ cup sugar (adjust if cherries are already sweet) and a pinch of salt.
- Stir to combine.
Simmer:
- Bring the mixture to a gentle simmer over medium heat, stirring occasionally.
Thicken:
- Re-whisk the cornstarch slurry, then slowly pour it into the simmering cherries while stirring.
- Continue to stir and cook for 1–2 minutes until the sauce thickens and becomes glossy.
Add finishing flavors:
- Remove from heat and stir in 1 tablespoon lemon juice and ½ teaspoon vanilla or almond extract.
- Optional: Stir in 1 tablespoon butter for extra smoothness.
Cool and serve:
- Let the cherry topping cool slightly. Serve warm or refrigerate for later use.
Notes
| Nutrient | Amount |
|---|---|
| Calories | 110 kcal |
| Total Fat | 0.2g |
| Saturated Fat | 0g |
| Carbohydrates | 27g |
| Sugars | 22g |
| Protein | 1g |
| Fiber | 1g |
| Sodium | 20mg |
Note: Nutrition values may vary depending on the type of canned cherries used.
FAQs
Can I use fresh or frozen cherries instead of canned?
Yes! Substitute 2 cups of pitted fresh or frozen cherries. Add an extra ¼ cup of water and increase the sugar to taste, since fresh fruit is often tarter.
How sweet is this recipe, and can I adjust the sugar?
The base recipe is lightly sweet. If you’re using tart canned cherries, keep the ¼ cup sugar; for sweet or pie‑filling cherries, start with 1–2 tablespoons and taste, adding more only if needed.
Why didn’t my cherry sauce thicken?
Cornstarch needs to simmer briefly to activate. Return the pan to medium heat, whisk constantly, and cook 30–60 seconds longer. If it’s still thin, whisk 1 teaspoon cornstarch with 1 tablespoon cold water and stir it in.
Can I freeze leftover cherry topping?
Absolutely. Cool the sauce, transfer to a freezer‑safe container, and leave ½ inch headspace. Freeze up to 3 months. Thaw overnight in the fridge and stir; if it’s too thick, thin with a splash of water or juice.
How long will this keep in the refrigerator?
Stored in an airtight jar, your homemade cherry sauce stays fresh for about 1 week. Always use a clean spoon to avoid introducing bacteria.
Is this recipe gluten‑free and vegan?
Yes—cornstarch is naturally gluten‑free, and all ingredients are plant‑based. Just double‑check your canned cherries to ensure no additives contain gluten or animal products.