

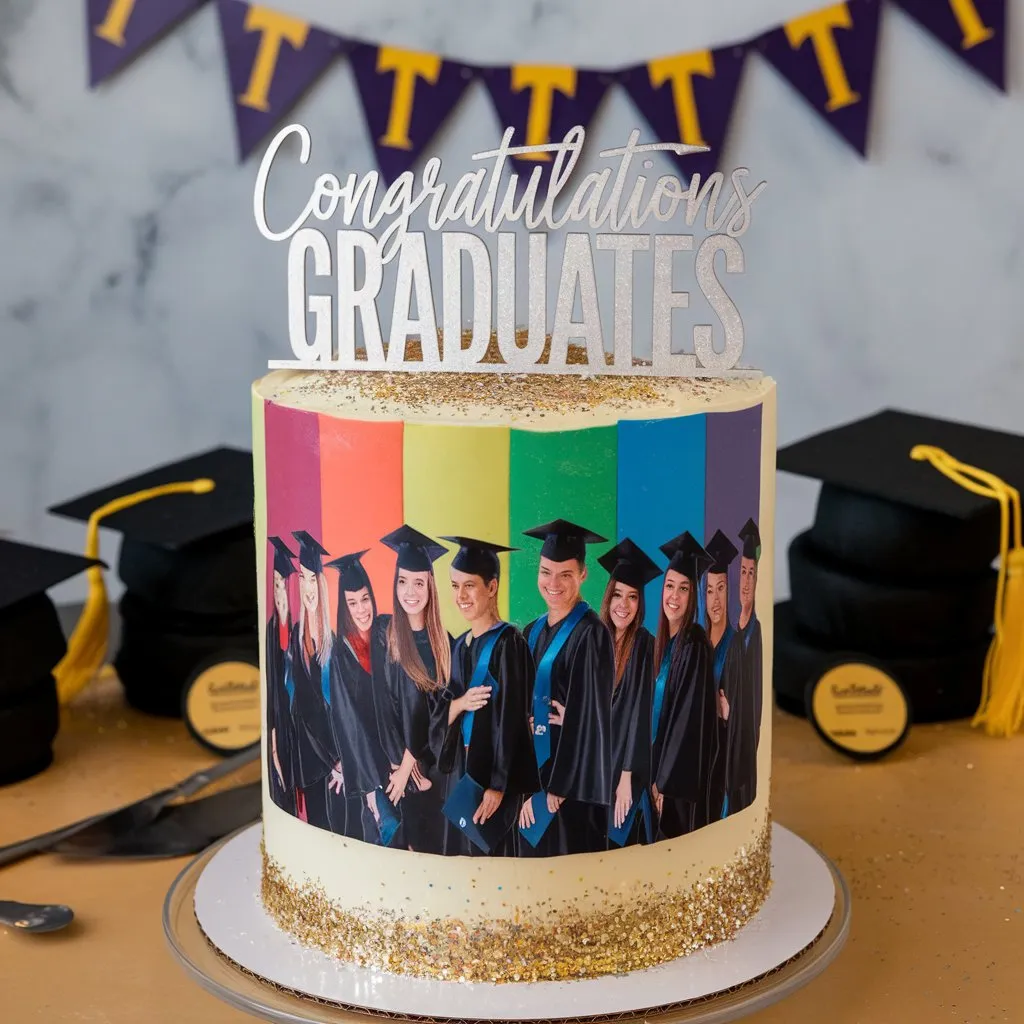
Are you looking for a fun and memorable way to celebrate a graduation? A Graduation Cake with Edible Images is the perfect choice to make the occasion extra special! Imagine a cake adorned with a personalized edible image that captures the essence of the moment. Whether it’s a picture of the graduate, a school logo, or a custom design, this cake brings a personal touch that everyone will appreciate. Plus, it’s surprisingly easy to make and allows for endless creativity in decoration. Ready to create a showstopper that’s as delicious as it is unique? Let’s dive into the step-by-step guide for making your own Graduation Cake with Edible Images!
Table of Contents
Key Benefits of a Graduation Cake with Edible Images
A Graduation Cake with Edible Images isn’t just about flavor—it’s about creating a moment that everyone will remember. Here are some of the key benefits that make this cake the perfect choice for your celebration:
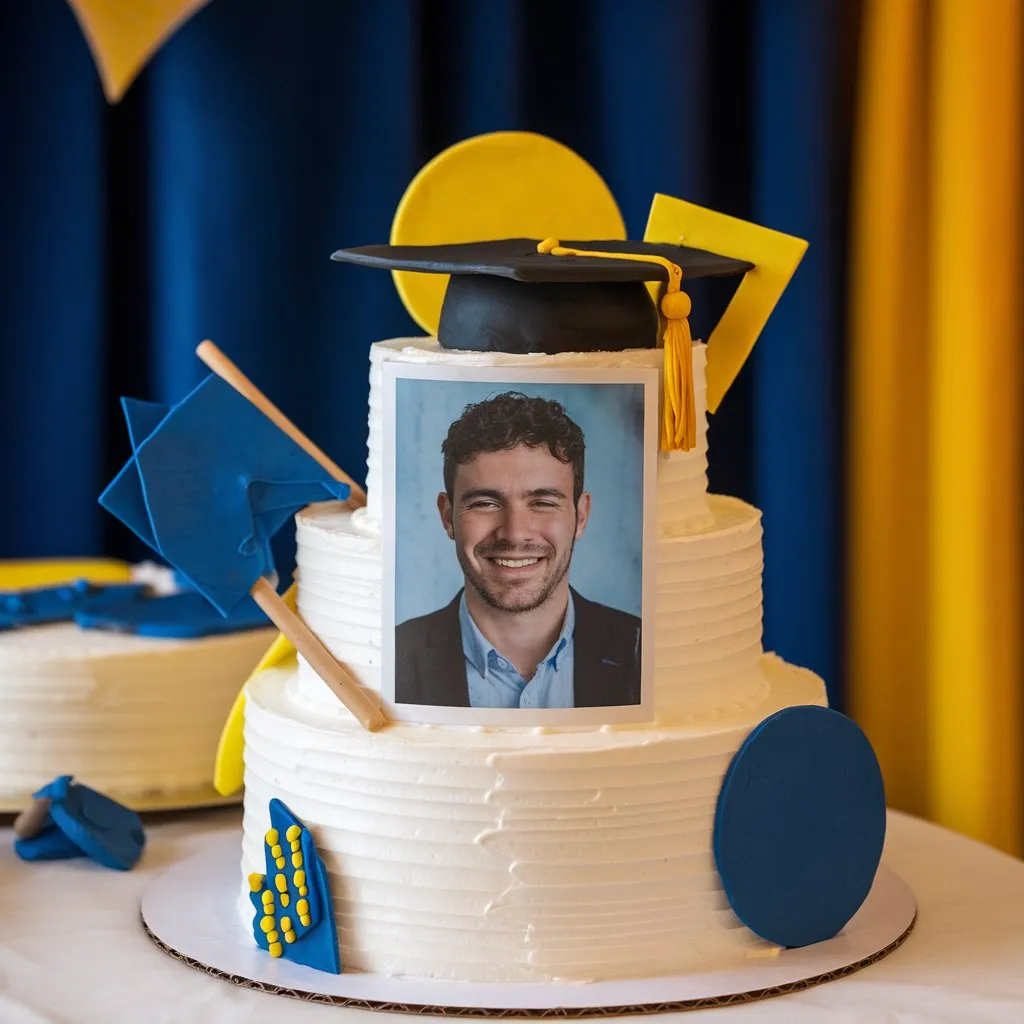
- Personalization: One of the most significant benefits is the ability to customize the cake to reflect the graduate’s personality, achievements, or the theme of the event. Whether you choose a graduation photo, school logo, or a fun design, an edible image gives your cake a personal touch that no traditional decoration can match.
- Easy and Time-Saving: Applying edible images to your cake might sound complicated, but it’s actually a breeze! You don’t need any advanced decorating skills—just a bit of patience and the right materials. With edible ink and image sheets, you can have a beautifully decorated cake in no time.
- Versatility: Edible images open up a world of creative possibilities. From vibrant colors to black-and-white photos, you can create a range of designs to suit the occasion. You can even add text, such as “Congrats Grad!” or a motivational quote, to make the cake even more meaningful.
- Impress Your Guests: A cake with a personalized edible image is sure to wow your guests. Not only does it serve as a conversation starter, but it also makes for fantastic photo opportunities. Your graduate will feel extra special with a cake designed just for them!
- Delicious and Beautiful: Not only will your cake look great, but it will taste delicious too! Combining a beautiful design with a mouth-watering flavor means your cake will be the star of the party.
By choosing a Graduation Cake with Edible Images, you’re not just serving dessert—you’re creating an experience. It’s a simple yet stunning way to celebrate one of life’s most memorable milestones!
Step-by-Step Instructions for a Graduation Cake with Edible Images
Transform your kitchen into a creative studio and craft a stunning Graduation Cake with Edible Images by following these clear, friendly steps. Whether you’re a seasoned baker or trying something new, these instructions will help you achieve a beautifully decorated cake that wows your guests.
1. Preheat and Prep
- Set the Stage: Preheat your oven to 350°F (175°C). Grease your 9-inch cake pans or line them with parchment paper for effortless removal.
- Combine Dry Ingredients: In a large bowl, sift together all-purpose flour, baking powder, and a pinch of salt. This helps create an even, airy texture.
2. Mix the Batter
- Cream Butter and Sugar: In another bowl, beat your room-temperature butter with granulated sugar until the mixture is light and fluffy (around 3-4 minutes).
- Incorporate Eggs and Flavor: Add eggs one at a time, ensuring each is fully mixed in. Stir in vanilla extract to boost the aroma.
- Alternate Additions: Gradually add the dry mix to the creamed ingredients, alternating with milk. Start and finish with the dry ingredients, stirring just until combined to avoid overmixing.
3. Bake to Perfection
- Divide and Conquer: Evenly distribute the batter between your prepared pans.
- Bake: Place the pans in the oven for 25-30 minutes. Use a toothpick test—if it comes out clean, your cakes are perfectly baked.
- Cool Down: Allow the cakes to rest in the pans for 10 minutes, then transfer them to a cooling rack to cool completely.
4. Create a Creamy Buttercream
- Whip the Butter: Beat softened butter on medium speed until creamy.
- Gradually Add Sugar: Slowly mix in powdered sugar, one cup at a time, ensuring each addition is well blended.
- Achieve the Right Consistency: Incorporate vanilla extract and heavy cream. Adjust by adding more cream for a smoother, spreadable frosting.
5. Assemble Your Cake
- Layer and Crumb Coat: Place one cake layer on your serving plate. Apply a thin layer of buttercream over the top, then add the second layer. Cover the entire cake with a light crumb coat to trap any loose bits.
- Chill Briefly: Refrigerate the crumb-coated cake for about 20 minutes to set up a stable base for the final frosting layer.
- Final Frosting: Apply a generous, smooth layer of buttercream over the entire cake. Use a spatula to create even coverage for a professional look.
6. Add the Edible Image
- Prepare the Image: Trim your edible image to fit perfectly on top of the cake.
- Adhere Gently: Lightly brush the back of the edible image with water or edible glue. Carefully position it on the cake, smoothing out any bubbles or wrinkles for a flawless finish.
7. Final Touches
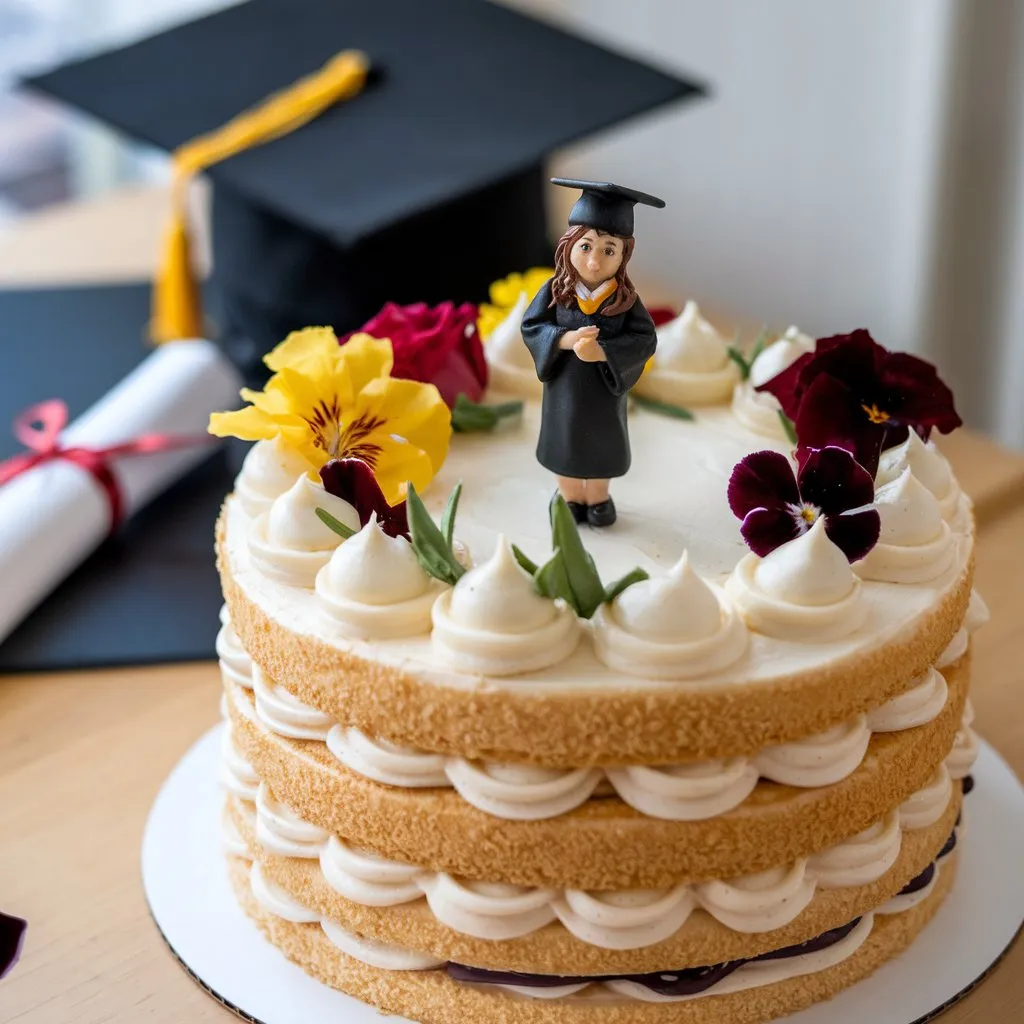
- Personalize Further: Enhance your cake with a few well-placed decorations like edible glitter, sprinkles in the school’s colors, or a small fondant graduation cap.
- Step Back and Admire: Take a moment to appreciate your creation—it’s not only a cake but a personalized work of art ready for celebration!
By following these detailed instructions, you’ll have a Graduation Cake with Edible Images that is both delicious and visually stunning.
Pro Tips and Variations
Elevate your Graduation Cake with Edible Images by exploring these creative tips and exciting variations. Whether you’re a baking novice or a seasoned pro, these insights will help you customize your cake for an unforgettable celebration.
1. Customizing the Edible Image
- Personal Touch: Choose a high-quality photo or design that truly represents the graduate.
- Color Coordination: Adjust image colors using simple editing tools to perfectly match your cake’s theme.
- Added Text: Consider incorporating a congratulatory message or the graduation year in an elegant font.
2. Enhancing Cake Decoration
- Layer Options: Experiment with alternating cake flavors—try pairing vanilla with chocolate layers for an extra surprise.
- Frosting Techniques: Use piping bags for decorative borders or a spatula for a smooth finish that highlights the edible image.
- Additional Toppings: Complement the design with edible glitter, sugar pearls, or fondant accents that match the school colors.
3. Flavor and Frosting Variations
- Infused Flavors: Add natural extracts like almond or lemon to the batter for a subtle, sophisticated twist.
- Alternative Frostings: Swap traditional buttercream for a tangy cream cheese frosting or a light whipped ganache to suit your taste.
4. Practical Baking and Decorating Tips
- Test Bake: Always do a small test bake to confirm the texture and flavor before committing to your full recipe.
- Cool Completely: Ensure cake layers are completely cooled to prevent frosting from melting and to keep your edible image pristine.
- Practice First: Try placing a sample edible image on a small portion of frosting to refine your technique before the final application.
5. Storage and Serving Suggestions
- Storage Tips: Keep leftover cake in an airtight container in the refrigerator. Allow it to reach room temperature before serving to enhance the flavor.
- Presentation Ideas: Display your cake on a decorative stand and consider pairing it with a fresh fruit salad or a scoop of ice cream for an extra treat.
By integrating these pro tips and variations, you’ll not only enhance the visual appeal of your Graduation Cake with Edible Images but also create a personalized masterpiece that’s sure to delight every guest. Enjoy experimenting and making this recipe uniquely yours!
How to Serve Your Cake

Now that your Graduation Cake with Edible Images is a masterpiece, let’s explore some creative serving suggestions to ensure it steals the spotlight at your celebration.
1. Eye-Catching Presentation
- Elegant Plating: Place your cake on a stylish cake stand or a decorative platter to enhance its visual appeal.
- Themed Table Decor: Pair the cake with graduation-themed table settings, such as banners, confetti, or mini graduation caps, to tie the look together.
- Layered Display: If you’ve made a multi-tiered cake, consider displaying it in a well-lit area to showcase each layer’s design and edible image detail.
2. Pairing with Delicious Sides
- Complementary Flavors: Serve your cake with a side of fresh fruit salad or a scoop of vanilla ice cream. The light flavors enhance the rich taste of your buttercream and cake layers.
- Beverage Pairings: Offer beverages like sparkling lemonade, iced tea, or a celebratory punch that complement the sweetness of the cake.
- Creative Additions: Consider adding a small bowl of edible gold or silver dust on the side for guests to sprinkle over their slices, adding an extra touch of elegance.
3. Slicing and Serving Tips
- Pre-Slicing Prep: Chill the cake briefly before slicing to ensure clean, even cuts, especially when the edible image is featured prominently.
- Sharp Tools: Use a sharp knife or cake server for smooth slices. For an extra neat presentation, wipe the knife between cuts.
- Portion Ideas: Serve smaller slices if the cake is rich and decorative—this way, each guest gets a perfect bite of both flavor and design.
4. Enhancing the Celebration
- Interactive Display: Set up a dessert table with a short story or photo display that highlights the graduate’s achievements alongside the cake.
- Personal Touch: Consider including a brief congratulatory note or a mini banner on the side of the cake that ties back to the edible image’s theme.
- Photo Opportunities: Create a dedicated space where guests can take pictures with the cake. This not only elevates the presentation but also creates lasting memories.
By integrating these serving suggestions, your Graduation Cake with Edible Images won’t just be a dessert—it will be the centerpiece of your celebration, combining visual charm with delectable taste. Enjoy sharing this special treat with your loved ones and savor every moment of the celebration!
Final Thoughts
Making a Graduation Cake with Edible Images is a fun and creative way to celebrate this special milestone. Whether you’re showcasing the graduate’s achievements, favorite memories, or school spirit, the edible image adds a personal touch that truly elevates the entire cake. From selecting your images to the final presentation, every step is an opportunity to make this celebration even more memorable.
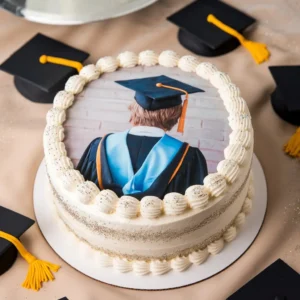
With the right ingredients, a bit of patience, and a lot of love, you can create a cake that’s not only delicious but also a show-stopper. If you’re looking to make a larger cake for a big celebration, check out this Full Sheet Graduation Cake for even more inspiration.
So, gather your supplies, get creative, and let your cake be the highlight of your graduation party. Don’t forget to take plenty of pictures to capture the moment—after all, this cake is just as much about the memories as it is about the flavor.
Graduation Cake with Edible Images
Ingredients
Cake Layers:
- 2 ½ cups 310g all-purpose flour
- 2 ½ tsp baking powder
- ½ tsp salt
- 1 cup 225g unsalted butter, softened
- 2 cups 400g granulated sugar
- 4 large eggs
- 1 tbsp vanilla extract
- 1 cup 240ml whole milk
Buttercream Frosting:
- 1 ½ cups 340g unsalted butter, softened
- 4 cups 500g powdered sugar
- 2 tbsp heavy cream or milk
- 1 tbsp vanilla extract
- Pinch of salt
Decorations:
- 1 edible image sheet custom design or graduation theme
- Food-safe edible glue or light corn syrup
- Sprinkles fondant decorations, or gold dust (optional)
Instructions
Step 1: Prepare the Cake Batter
- Preheat your oven to 350°F (175°C). Grease and line two 9-inch round cake pans with parchment paper.
- In a medium bowl, whisk together flour, baking powder, and salt. Set aside.
- In a large mixing bowl, beat butter and sugar together until light and fluffy (about 2-3 minutes).
- Add eggs one at a time, mixing well after each addition. Stir in vanilla extract.
- Alternate adding the dry ingredients and milk, starting and ending with the dry ingredients. Mix until just combined.
Step 2: Bake the Cake
- Divide the batter evenly between the prepared cake pans. Smooth the tops with a spatula.
- Bake for 30-35 minutes, or until a toothpick inserted into the center comes out clean.
- Let cakes cool in the pans for 10 minutes, then transfer to a wire rack to cool completely.
Step 3: Make the Buttercream Frosting
- In a mixing bowl, beat butter until creamy (about 2 minutes).
- Gradually add powdered sugar, mixing on low speed.
- Add vanilla extract, heavy cream, and a pinch of salt, then increase speed to medium-high and beat until smooth and fluffy.
Step 4: Assemble the Cake
- Place one cake layer on a serving plate and spread a layer of buttercream frosting on top.
- Add the second cake layer and frost the entire cake with a thin crumb coat. Chill for 15 minutes.
- Apply the final coat of buttercream, smoothing the sides and top.
Step 5: Apply the Edible Image
- Carefully trim the edible image sheet to fit your cake if needed.
- Lightly brush the back of the edible image with edible glue or light corn syrup.
- Gently place the image on top of the cake, smoothing out any air bubbles with clean, dry fingers.
Step 6: Decorate and Serve
- Add sprinkles, fondant details, or edible gold dust around the edges for a professional touch.
- Let the cake sit for 20-30 minutes to allow the edible image to fully set.
- Slice, serve, and enjoy your stunning graduation cake!
Notes
- Calories: 350 kcal
- Total Fat: 15g
- Saturated Fat: 8g
- Cholesterol: 60mg
- Sodium: 180mg
- Carbohydrates: 50g
- Sugar: 35g
- Protein: 5g
- Fiber: 1g
Frequently Asked Questions
Can I use a store-bought cake mix?
Absolutely! A high-quality store-bought cake mix can be a time-saving alternative. Just follow the package directions and use room-temperature ingredients for the best texture.
How do I make sure the edible image adheres properly?
For a flawless finish, trim the edible image carefully to match your cake’s size. Lightly brush the back with water or edible glue and gently smooth it onto the frosted surface. Avoid oversaturating the image to prevent distortion.
What if my cake layers sink or don’t rise evenly?
Even mixing is key. Sift your dry ingredients and fold them gently into the creamed mixture. Also, make sure your baking powder is fresh, and don’t overmix once you add the milk. This will help your cake rise evenly and remain light.
How can I customize the cake’s flavor and frosting?
Feel free to experiment! You can add natural extracts like almond or lemon to the batter for a twist. For the frosting, consider alternatives like cream cheese frosting or a light whipped ganache if you want a different flavor profile.
How should I store my cake for the best results?
Keep any leftovers in an airtight container in the refrigerator. Before serving, let the cake come to room temperature to enhance both flavor and texture. This helps maintain the integrity of the edible image and the overall presentation.